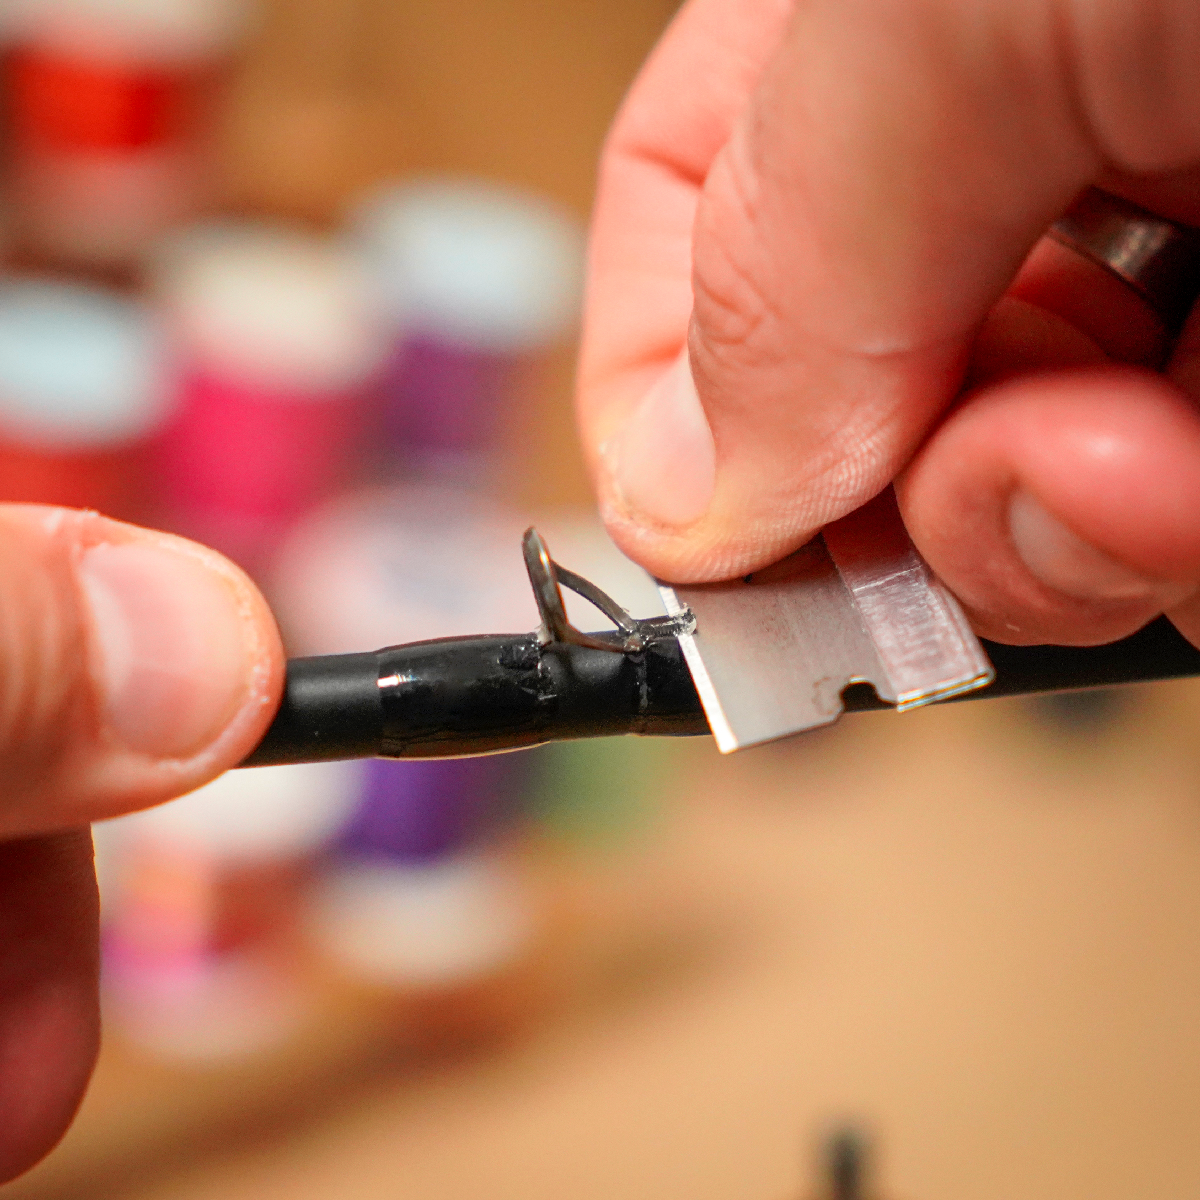

Handle Assembly: Tips and steps for successful assembly

On our tutorial video, you'll be able to discover how to assemble a fishing rod handle:
This handle is assembled with the carbon exposed between the reel seat and the heel, a so-called "split-grip" assembly. The part on the left of the video is the butt with a PVC part to rest the rod (the butt), a ring for aesthetics and the butt (generally speaking, you should know that everything behind the reel seat is called "rear grip").
Then you have a ring that will be located under the IPS-type reel seat, customized in black by the Matagi brand. You also have a shim (shim glued into the reel seat to compensate for the diameter thickness with the blank). Finally, you'll need a quick lock and a final ring.
.How to choose the rings that make up your handle
.Make yourself a plan representing your handle from a line. If you choose your rings on our store, you'll see that all the blanks and elements are side by side in terms of their length and internal diameter. So, depending on the handle you want to compose for yourself, go back to the blank's product sheet and you'll find all the rings corresponding to your blank's diameter.

What's going to be important to do, before gluing the elements, is to take marks to come and scratch with sandpaper the parts that are going to be glued so as to maximize the hold of your glues. You need to scratch with fine sandpaper so that the epoxy (glue for assembling your rod) adheres well everywhere.
.Re-glue your parts
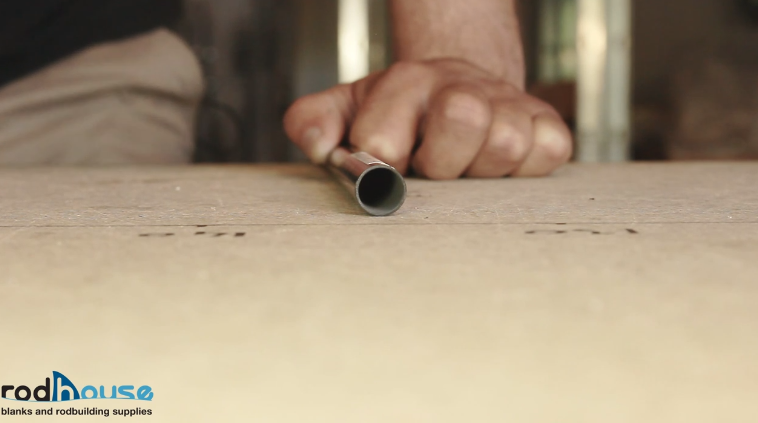
You'll need to reamer your butt and other parts with a suitably sized reamer to prepare them for gluing (always start by reaming on the butt side, since we thread the parts through the tip). To reamer, take care to be well centered and imperatively present your part before gluing.
Heel gluing
- Make a 50/50 mixture of glue. Mix well, apply the glue and slide the heel over the glued area. Clean off excess glue and pressurize the butt while gluing.
- It is then necessary to glue the shim in the reel seat and wait for the glue to dry so that you can then reamer the shim and come to position it in the chosen spot.
- Now glue the ring above the heel (see video 7min45).
- Release the shim and glue the reel seat grip to the reel seat (gluing detail at 11min30).
Preparing the quick lock and spinning
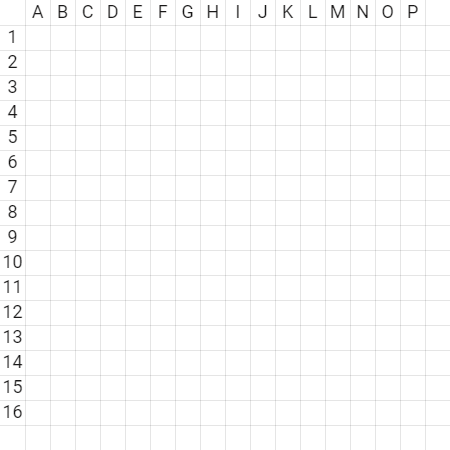
The aim is to shorten the quick lock to have the finger in contact with the blank. To do this, you need to cut the kdps and grip so that they clamp the reel seat foot.
- Cut the kdps and grip with a cutter.
- Glue the grip, kdps and ring (14min10).
- Cut the thread.
Gluing the reel seat
- Place the reel seat in the axis marked when taking the blank spine.
- Screw on the quick lock and wait a few moments to allow the final glues to set.

1 comment
Guillaume
https://rodhouse.com/blogs/rodbuilding/montage-poignee-canne
Bonjour la video n’est pas visible malheureusement sur cette page.
Leave a comment
All comments are moderated before being published.
This site is protected by hCaptcha and the hCaptcha Privacy Policy and Terms of Service apply.