


Tutorial: How to Adorn Your Bindings with a Trim
As soon as the pleasure derived from the success of your first bindings is felt, the desire to enhance and add complexity to them naturally arises. Instead of using wraps or long binding techniques, the addition of a simple trim at the beginning and/or at the end brings a touch of color and a striking aesthetic contrast, thus elevating your creations. Easy to master, its execution will only take a few extra minutes. Here’s how to proceed.

Rédigé par Blog Rodhouse
Le 20 Feb 2025
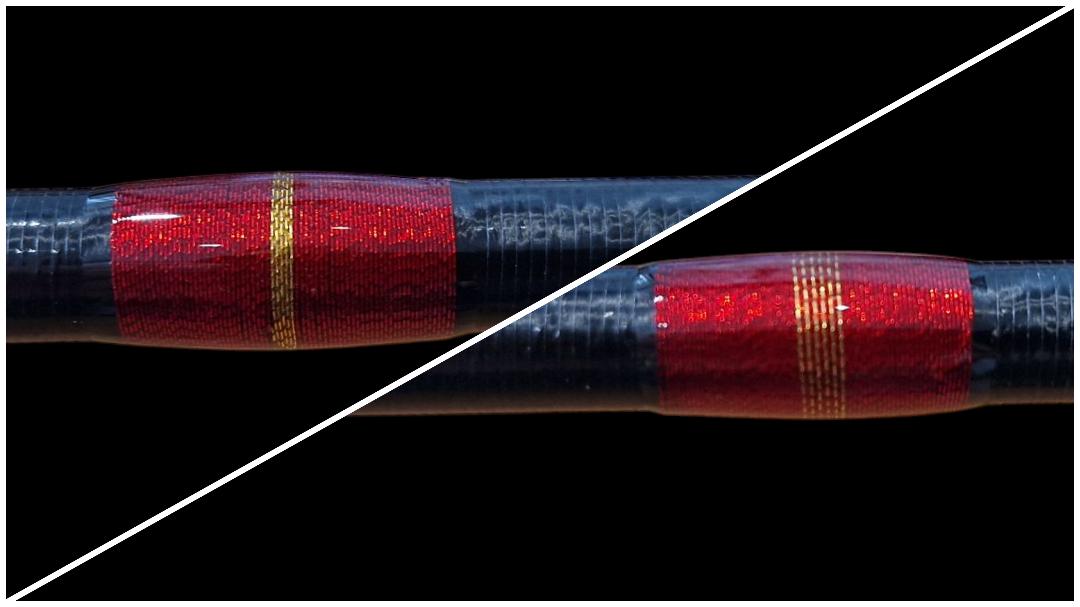
How to Create a Trim at the Beginning and End of a Binding on a Fishing Rod
The trim is an essential technique for adding an aesthetic touch to a fishing rod. Whether you wish to add it at the beginning or at the end of a binding, this method requires no additional maneuvers, only a slight adaptation of the technique. Discover in this detailed guide how to successfully create a trim.
Table of Contents
Creating a Trim at the Beginning of a Binding
Step 1: Preparation
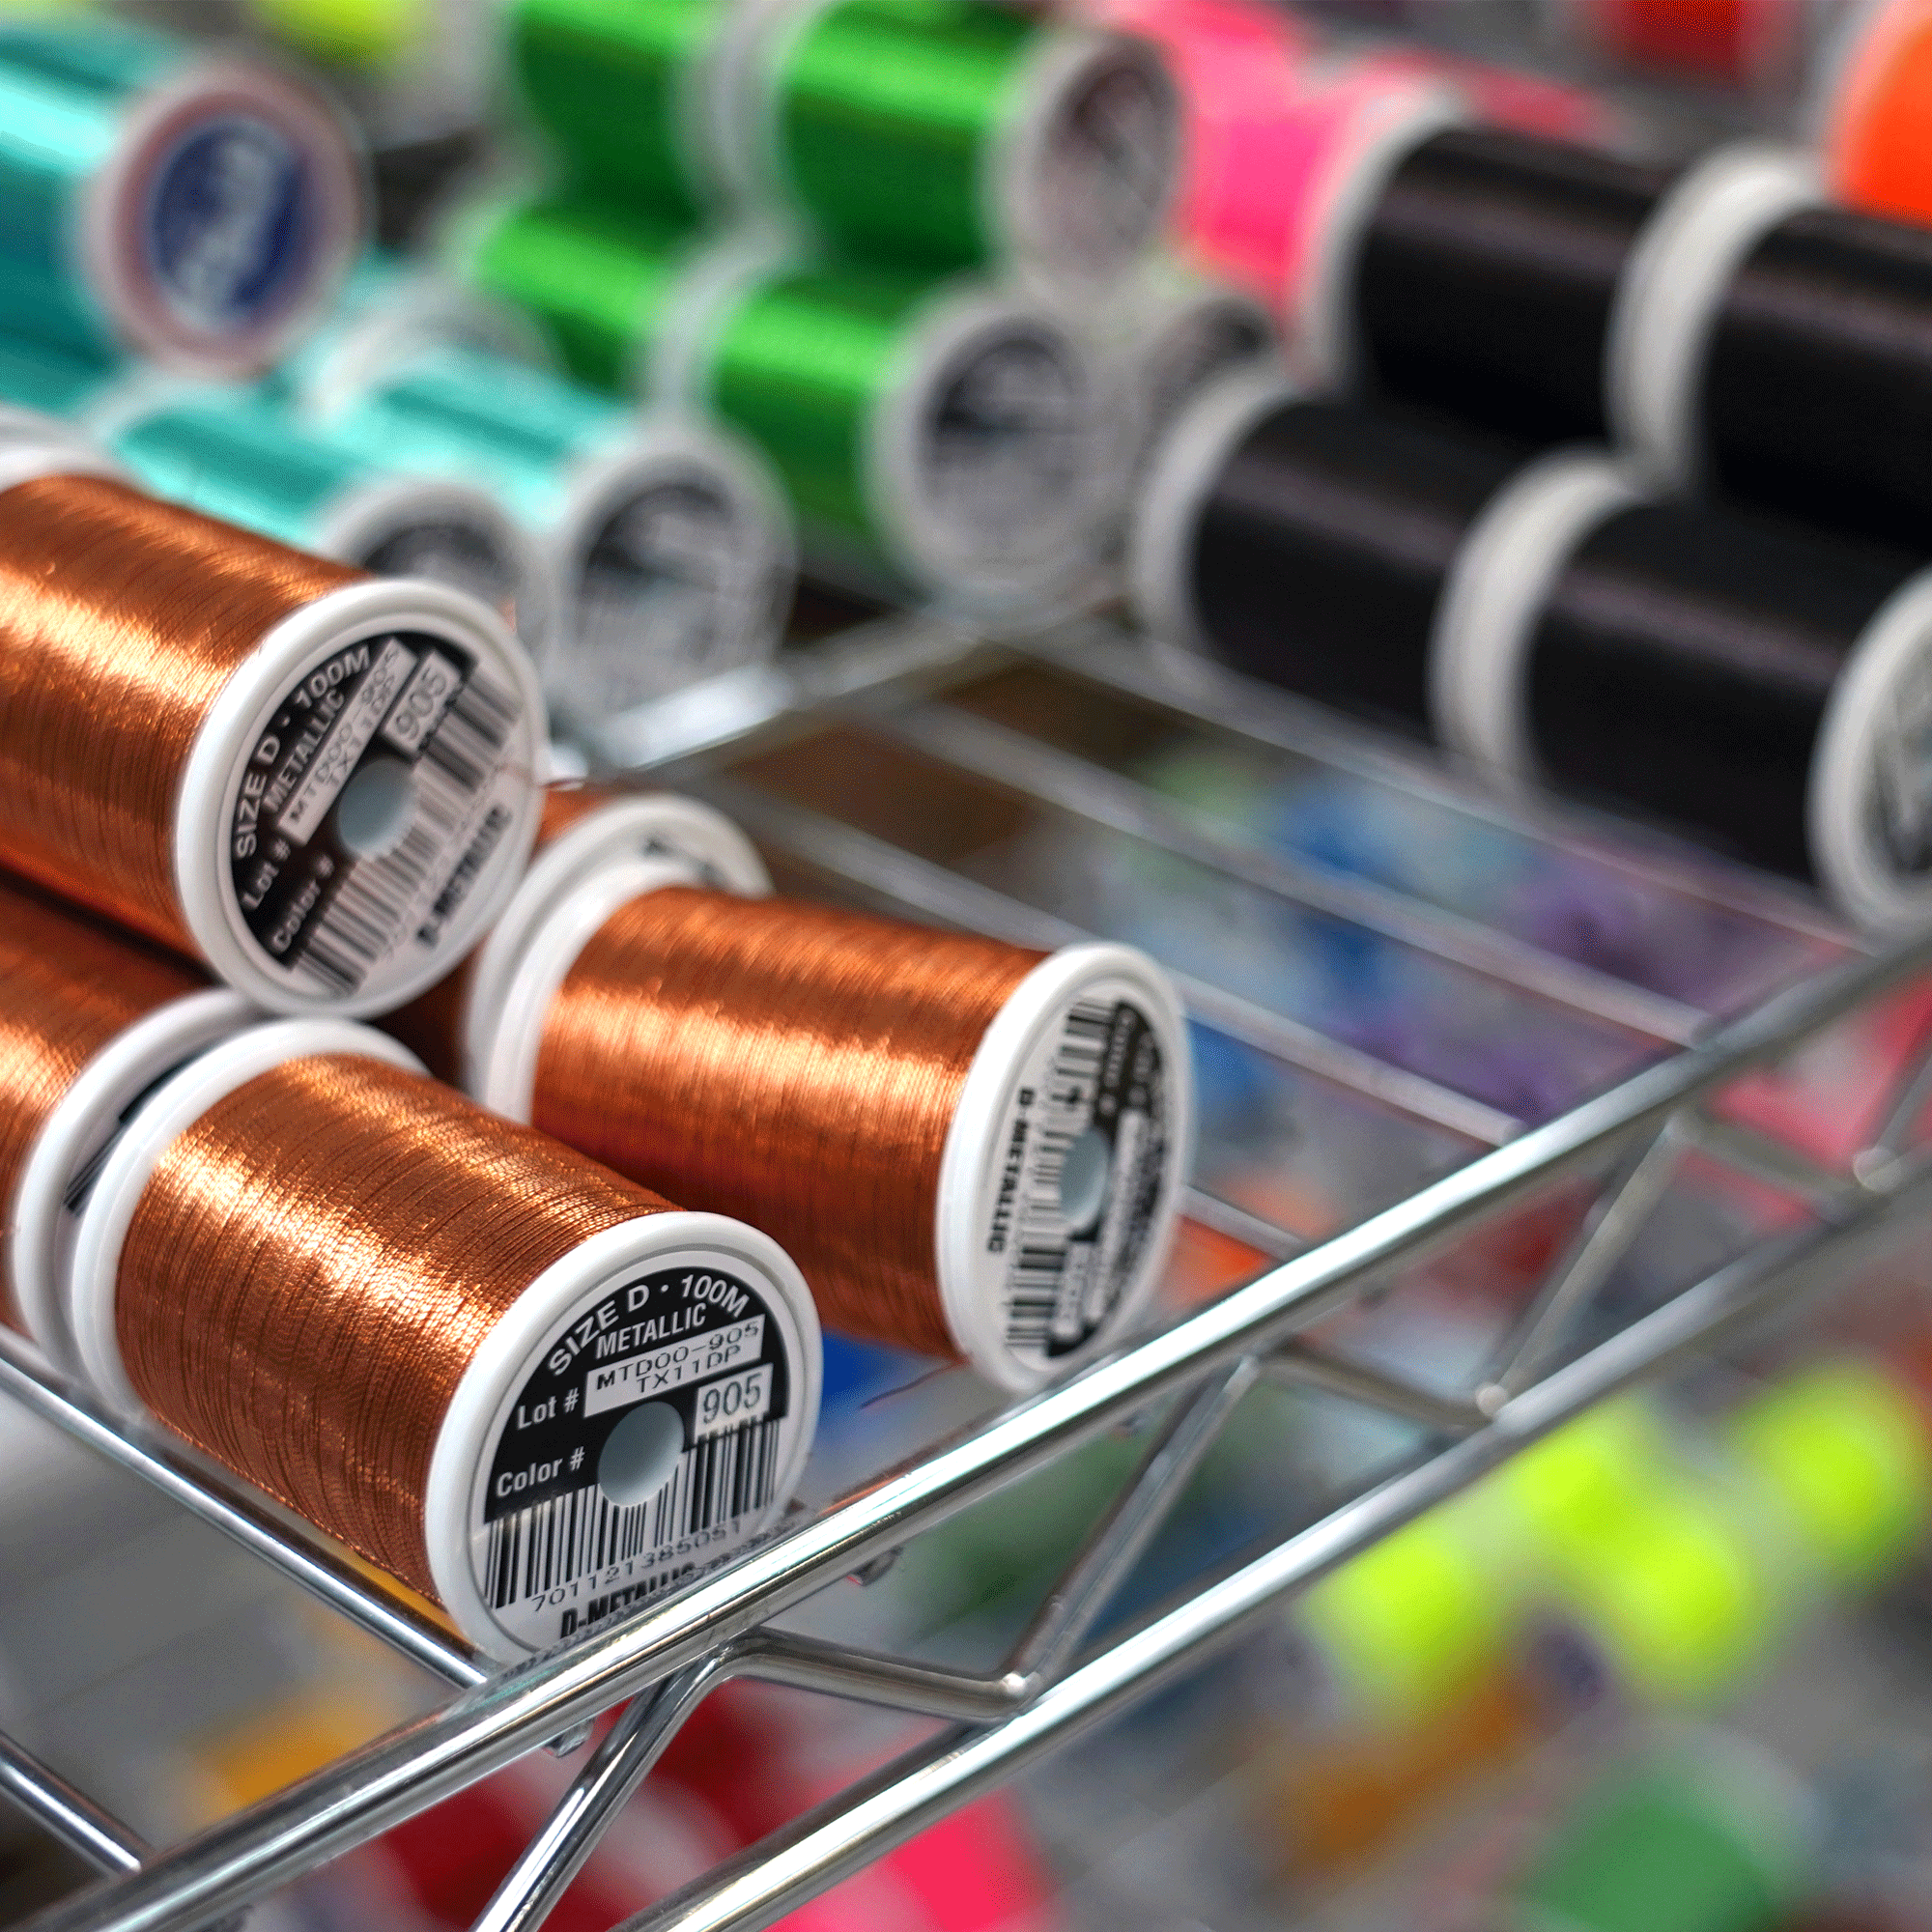
- Secure the colored thread used for the trim and a downstream loop using a strip of painter’s tape.
- Begin your binding by passing the main thread over itself from left to right.
- Maintain the tension and perform the first wraps.
- After 6 or 7 wraps, remove the left tape.

Step 2
- Place and keep the colored thread stretched perpendicular to the blank.

Step 3
- Wrap the desired number of turns by rotating your blank.
- Ensure that the coils are tightly wound.

Step 4
- Maintain tension with your index finger.
- Pass the thread through the loop and pull to bring it under the binding.

Step 5
- Press the coils using a burnisher.

Step 6
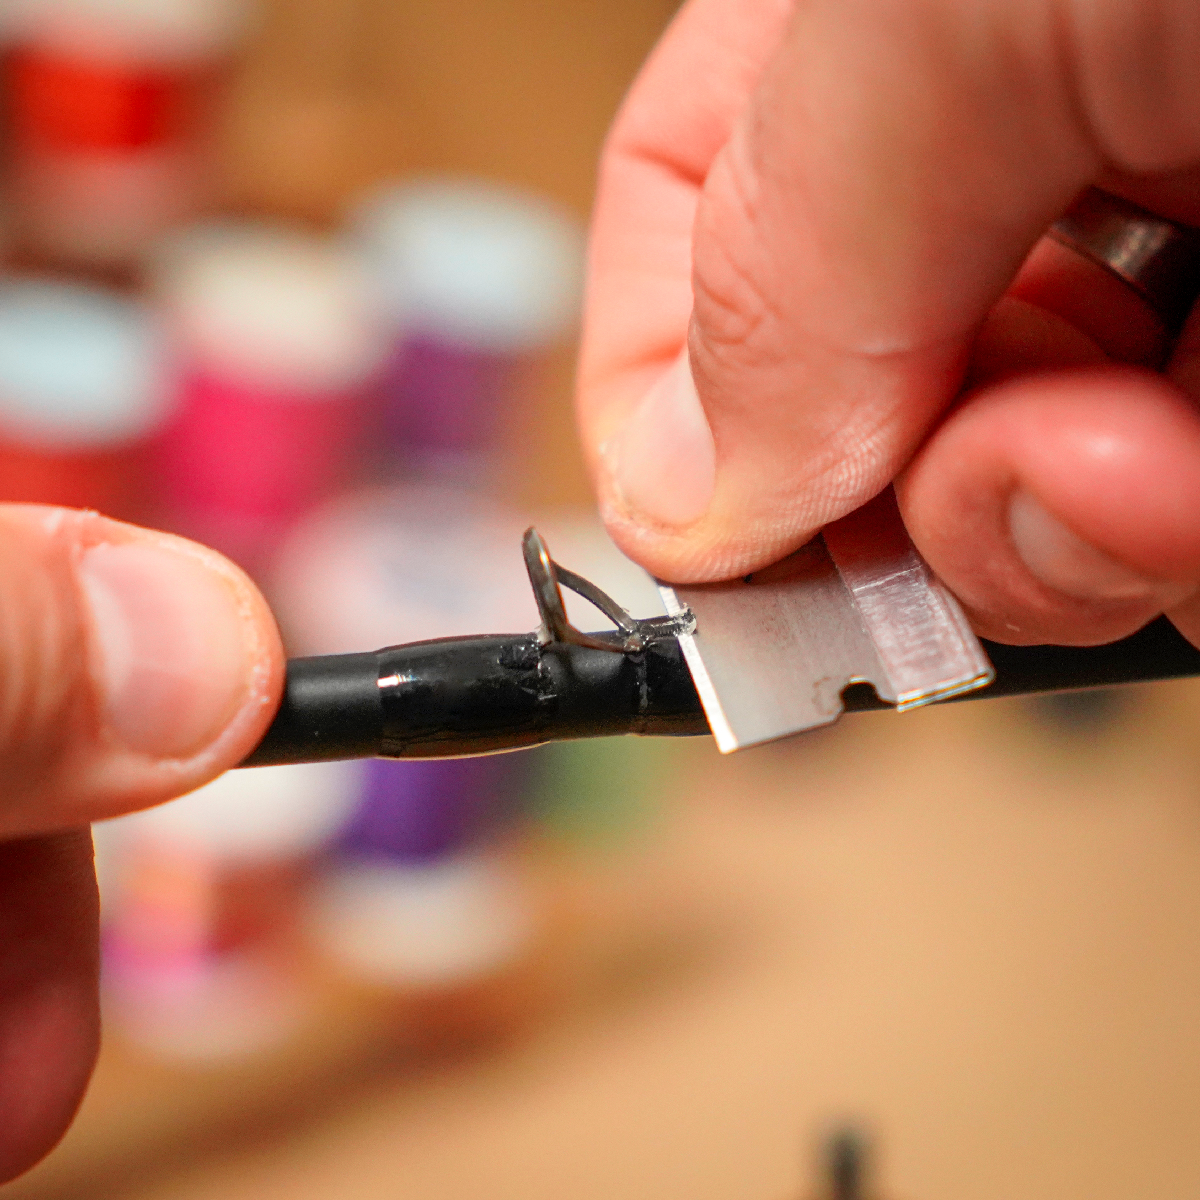
- Cut the excess threads.

Step 7
- Continue your binding until completion.
- Your binding with trim is ready for the application of varnish.

Creating a Trim at the End of a Binding
Step 1: Beginning of the Binding
- Begin your binding by passing the main thread over itself from left to right.
- Maintain the tension and perform the first wraps.
- After 6 or 7 wraps, the binding is well secured.

Step 2: Preparing the Trim
- 12 to 15 wraps before the end, secure a colored thread for the trim under a coil.
- Fix it parallel to the blank with painter’s tape.
- Perform about 10 wraps while maintaining high tension.
- Cut the excess and slightly pull the thread under the binding if necessary.

Step 3
- Secure a first loop under a coil and perform 2 to 3 wraps.

Step 4
- Add a second loop under a coil and perform 2 to 3 wraps again.

Step 5
- Hold the main thread with your index finger and cut it.
- Pass it through the first loop, then pull.
- The binding is now well secured on itself.

Step 6: Creating the Trim
- Keep the colored thread stretched perpendicular to the blank.
- Wrap the desired number of turns.
- Hold it with your index finger, pass it through the loop, then pull as with the main thread.

Step 7
- Cut the excess threads.
- Press the coils one last time. Your binding is ready to be varnished.


Leave a comment
All comments are moderated before being published.
This site is protected by hCaptcha and the hCaptcha Privacy Policy and Terms of Service apply.