


Tutorial: Varnishing a Wrapping with Flexcoat.
By Goulven Dolle.
Varnishing a rod's Wrapping is normally the last step in assembling a fishing rod, it's also the operation that will be almost the most visible.
Rodbuilders are often apprehensive about this step, when in fact it's extremely simple and allows magnificent results to be achieved right from the first rod, provided certain simple rules are followed.
If I were to tell you right now the 3 secrets that will enable you to get an excellent result, I'd say right away:
1/ Troom and varnish temperature;
2/ Blots of varnish;
3/ Dbullage.
T-B-D.
We'll now go into just a little more detail.
The Flexcoat varnish.
We're going to work with Flexcoat HighBuild varnish, which is the basis for two-component epoxy varnishes. There are lots of different types, but remember that Flexcoat High Build is the 4*4 of varnishes, very forgiving and good quality, solvent-free so no shrinkage. What you put on is what you get when it dries. Forget single-component, solvent-based urethane nail varnishes, which require several coats and are only suitable for very specific uses or makeshift repairs. As a reminder, a fishing rod blank doesn't need to be varnished, only the Wrappings.
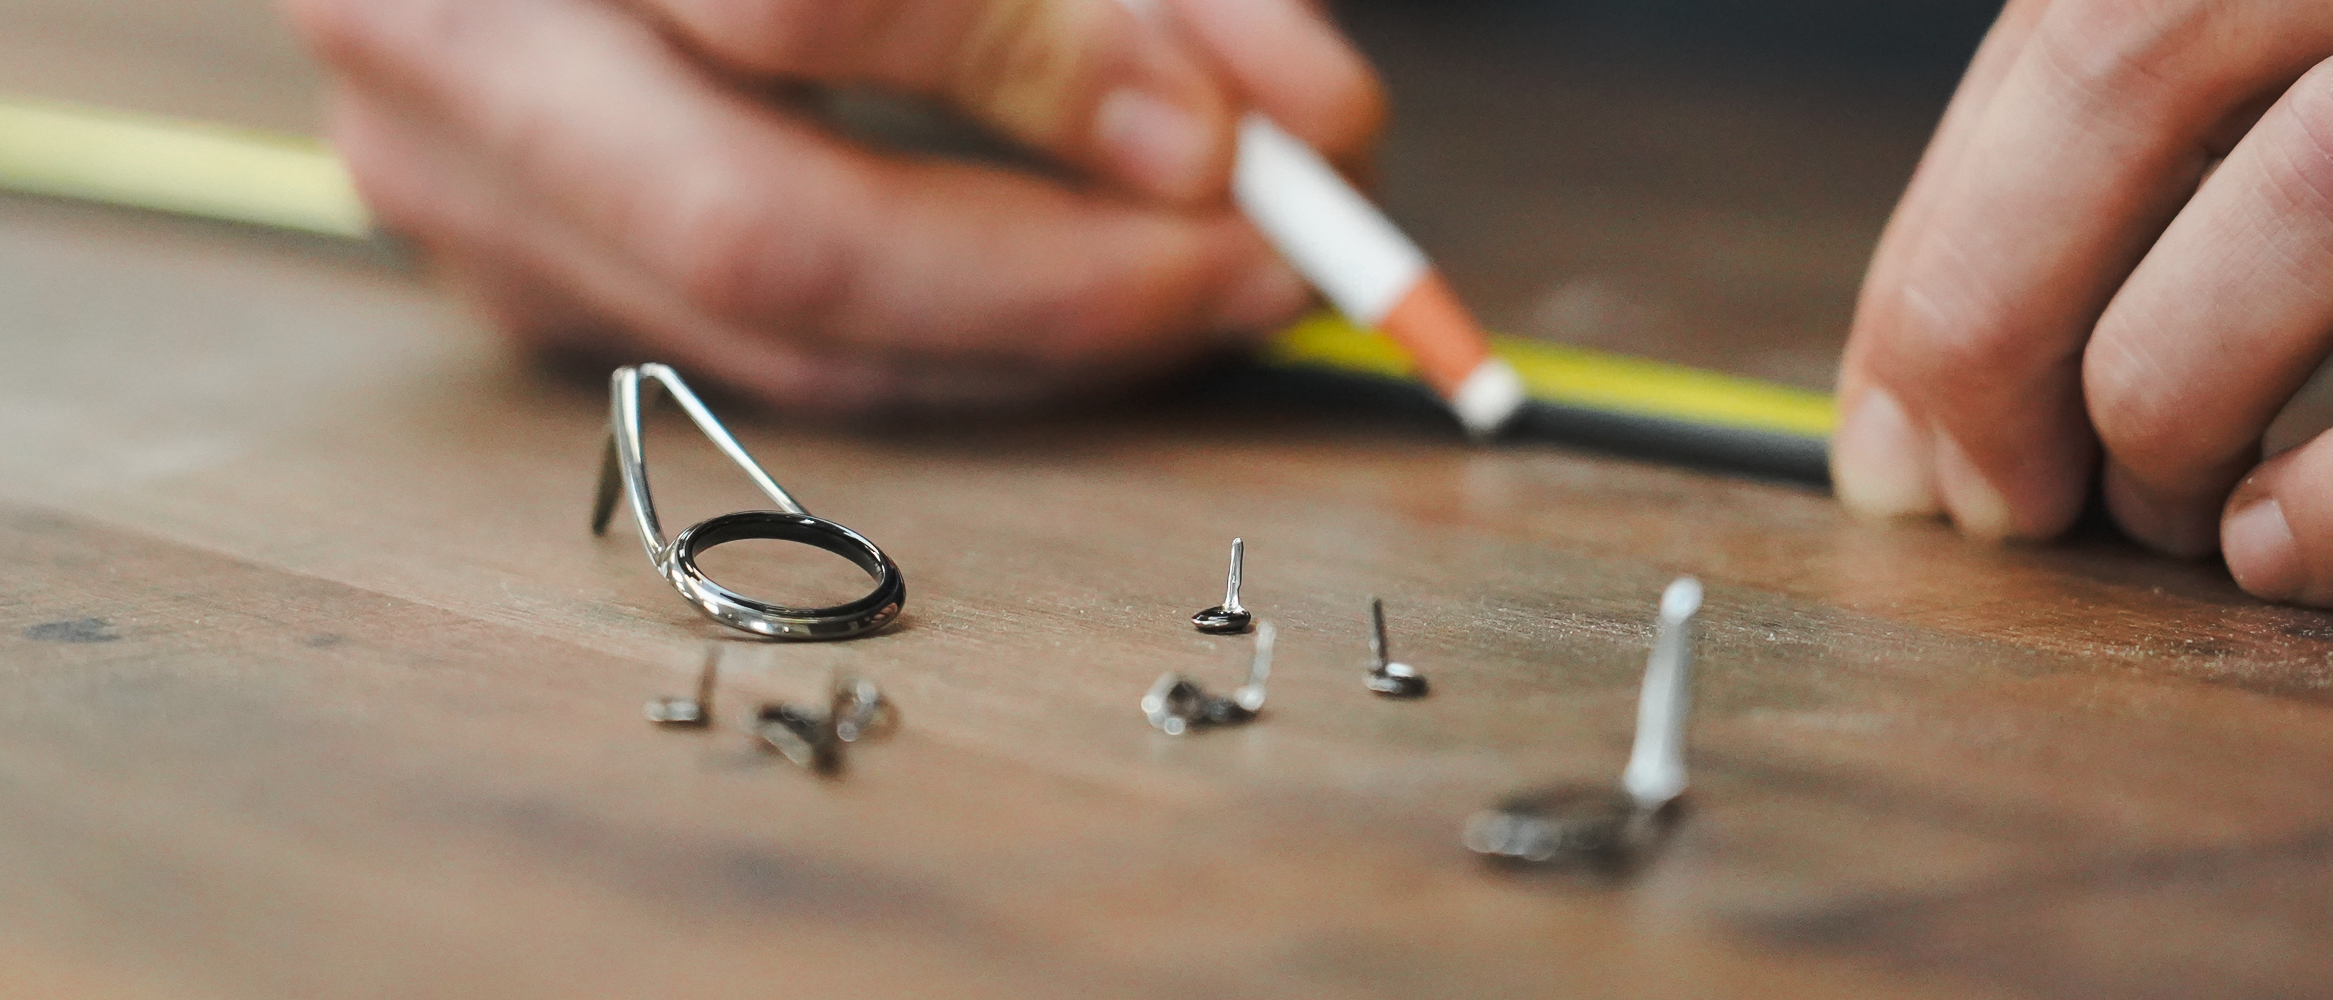
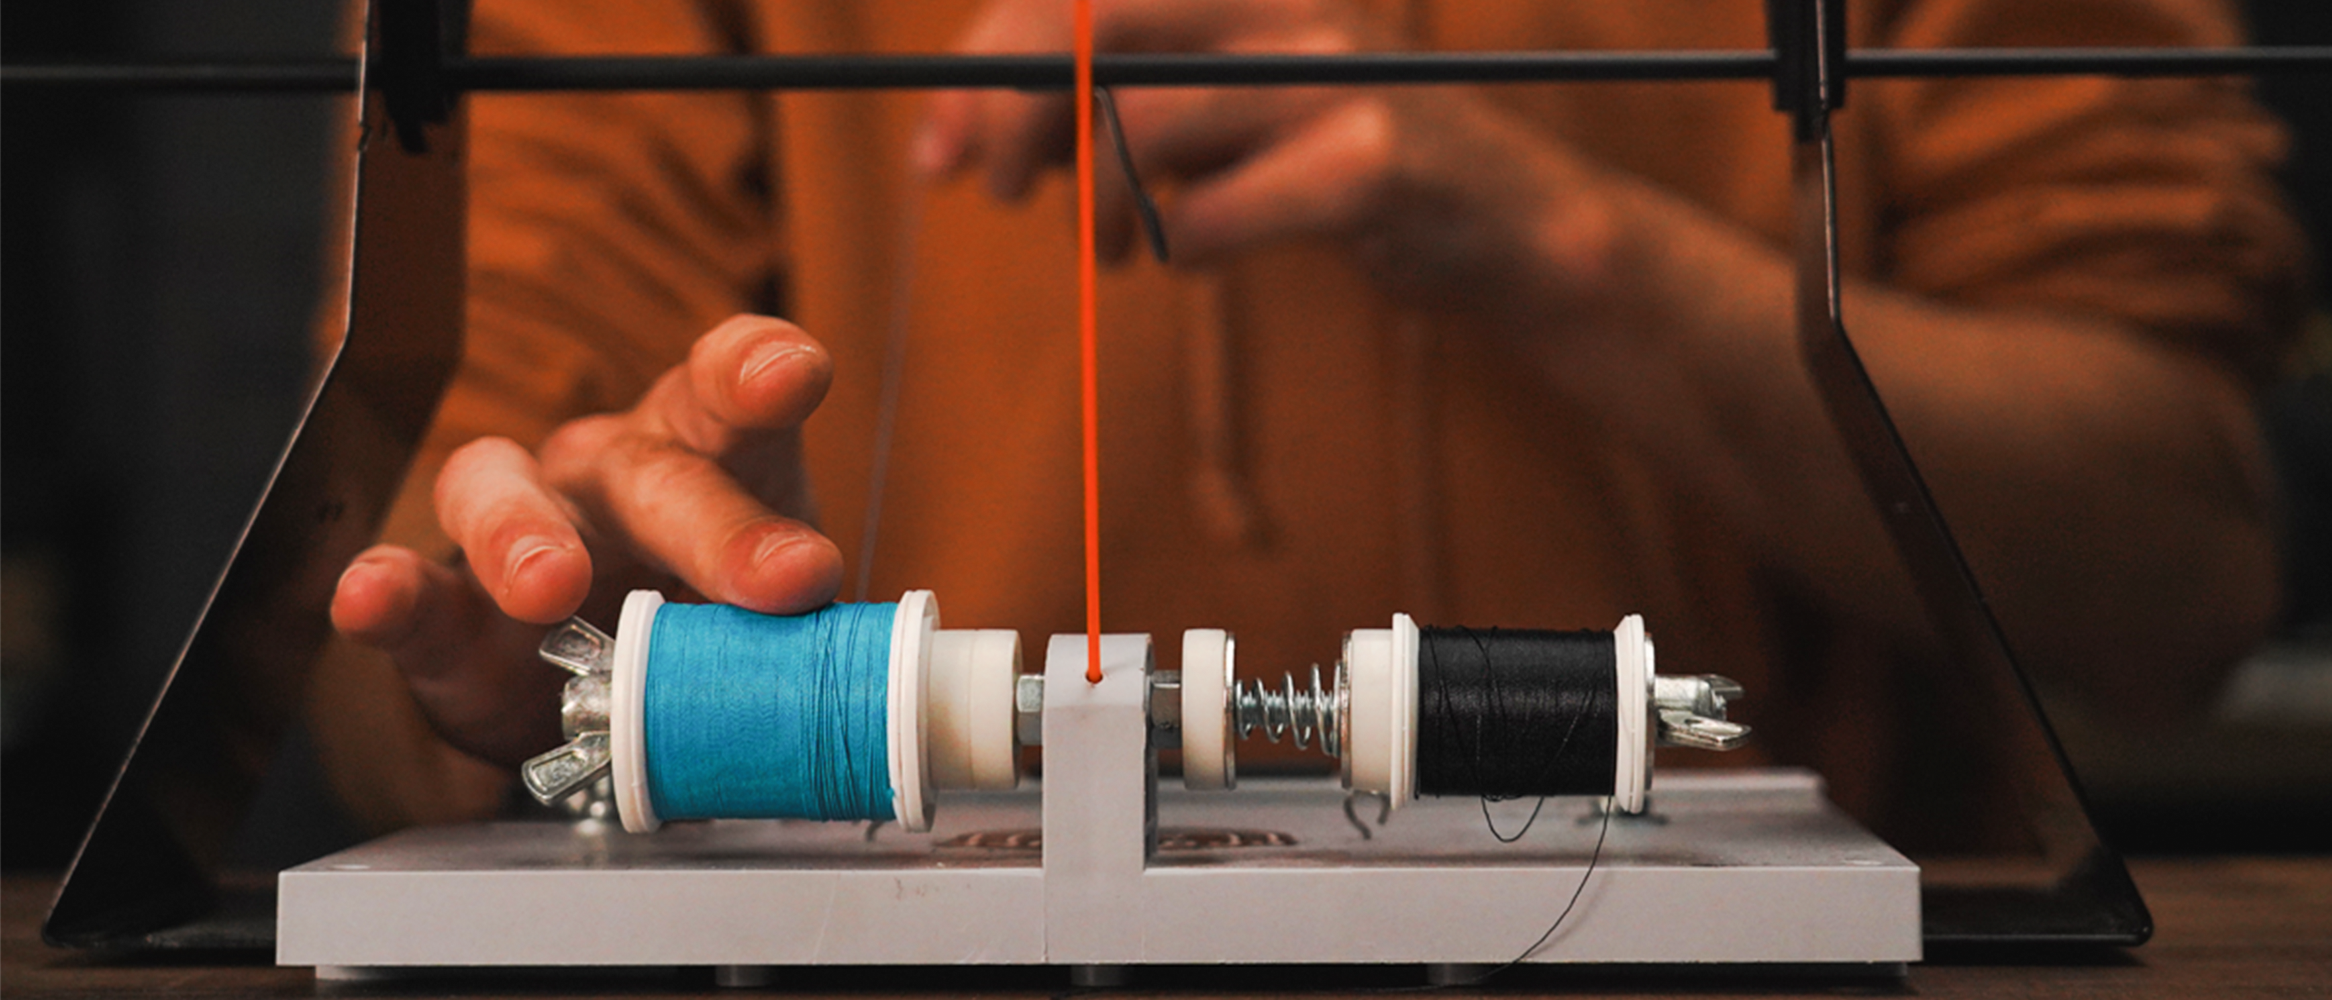
. [caption id="attachment_1313" align="aligncenter" width="800"] A quick look at the equipment needed to make a beautiful varnish. Alcohol lamp, Flexcoat two-component varnish, paintbrush![/caption]
The technique.
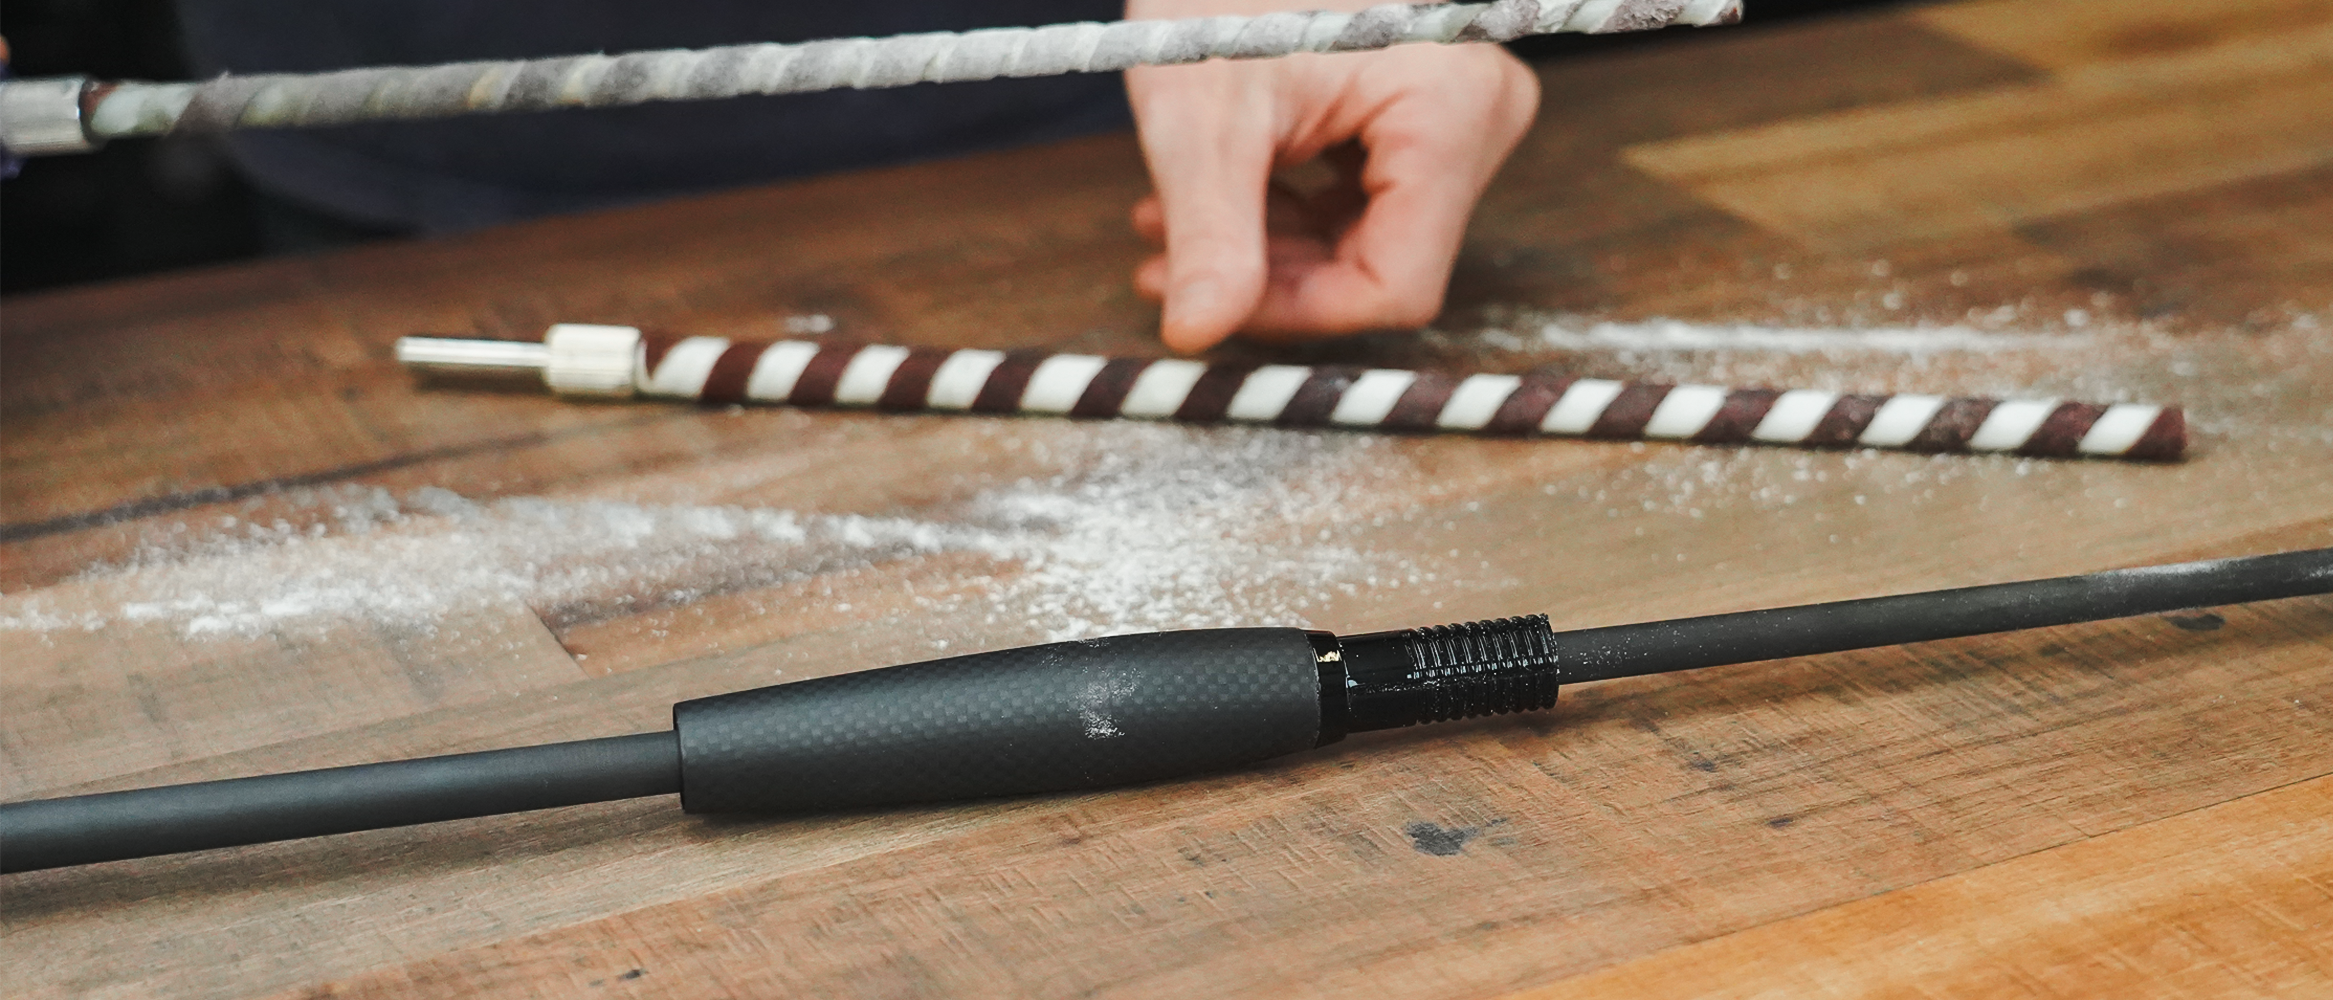
Before attacking, remember to work on a level surface, so that the varnishes don't drip, and run a spirit lamp over your Wrappings to burn off any little hairs that stick out.
Temperature:
Put the Flexcoat bottles in your pockets for 15 minutes before attacking: they'll be at the right temperature. A bain-marie makes the varnish more fluid, but it will also set too quickly. Epoxies are real gluttons for calories, so the ideal conditions for varnishing are a room temperature of around 20° and above, and a day without rain, as varnishes don't like humidity during application.
.Lots of varnish:
Mix your resin and hardener with a spatula for two or three minutes. I recommend at least half a syringe each time, no less, to avoid proportion errors.
[caption id="attachment_1314" align="aligncenter" width="800"] Note: Syringes are supplied with Flexcoat.[/caption]
At first, the mixture is cloudy, then becomes transparent, a sign of good mixing of the two components. Try to incorporate as few bubbles as possible, then leave to stand for a minute.
[caption id="attachment_1318" align="aligncenter" width="800"] Mixing Flexcoat varnish with a spatula. Try not to incorporate too many bubbles[/caption].
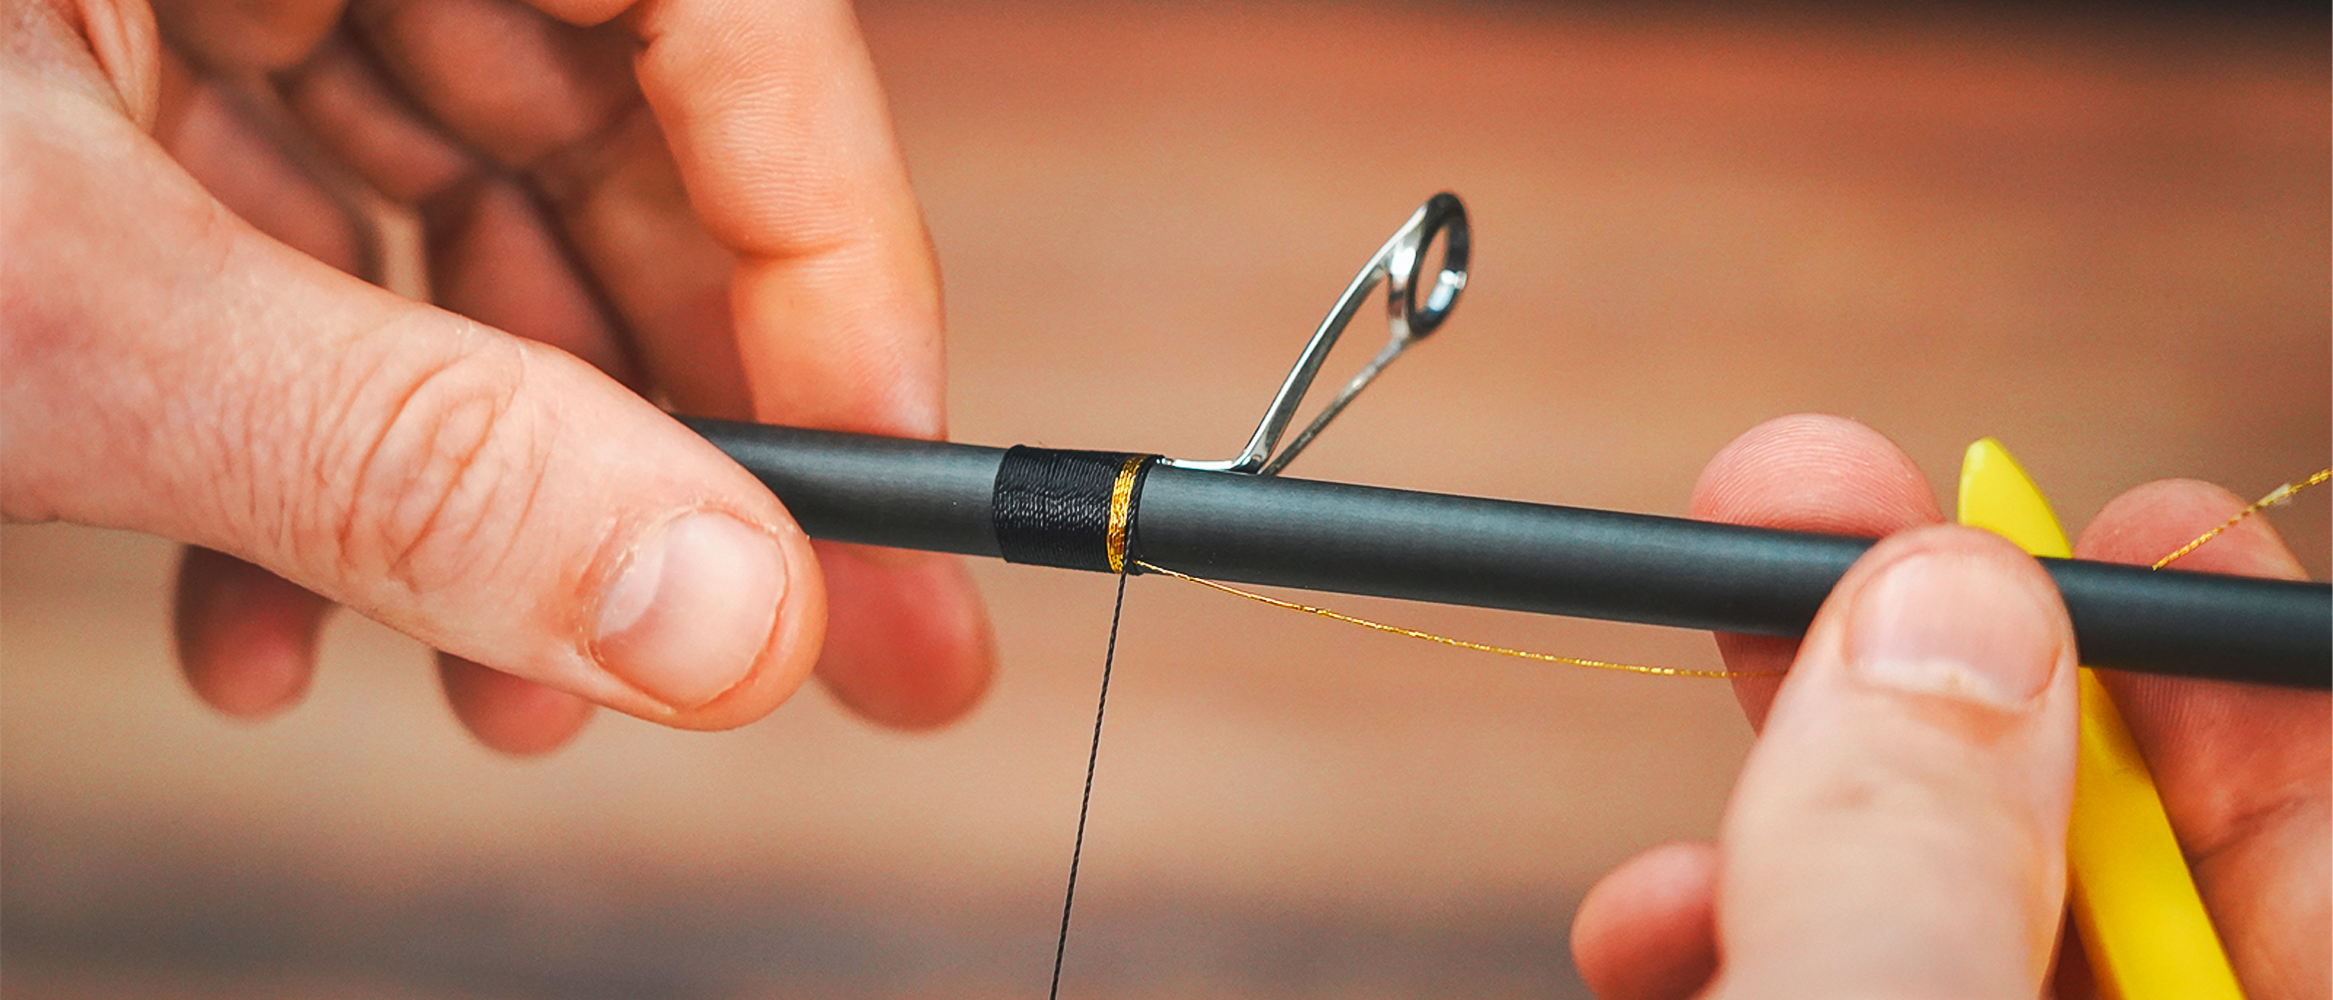
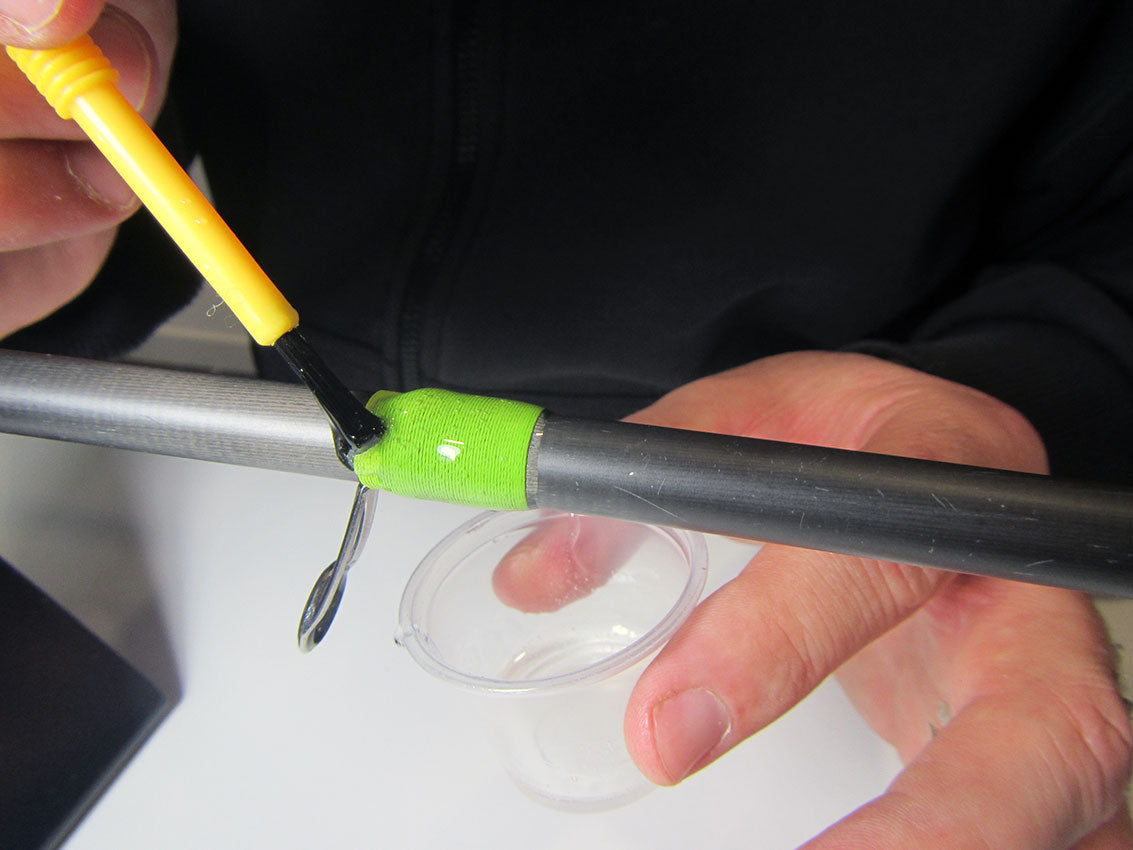
Apply your Flexcoat highBuild varnish with a brush, using plenty of it. Don't try to pull it like paint, apply a lot of it, the rotation of the blank will do the smoothing.
[caption id="attachment_1324" align="aligncenter" width="800"] Varnish application. Don't hesitate to apply a lot of varnish, as the rotation of the blank will do the smoothing for you!
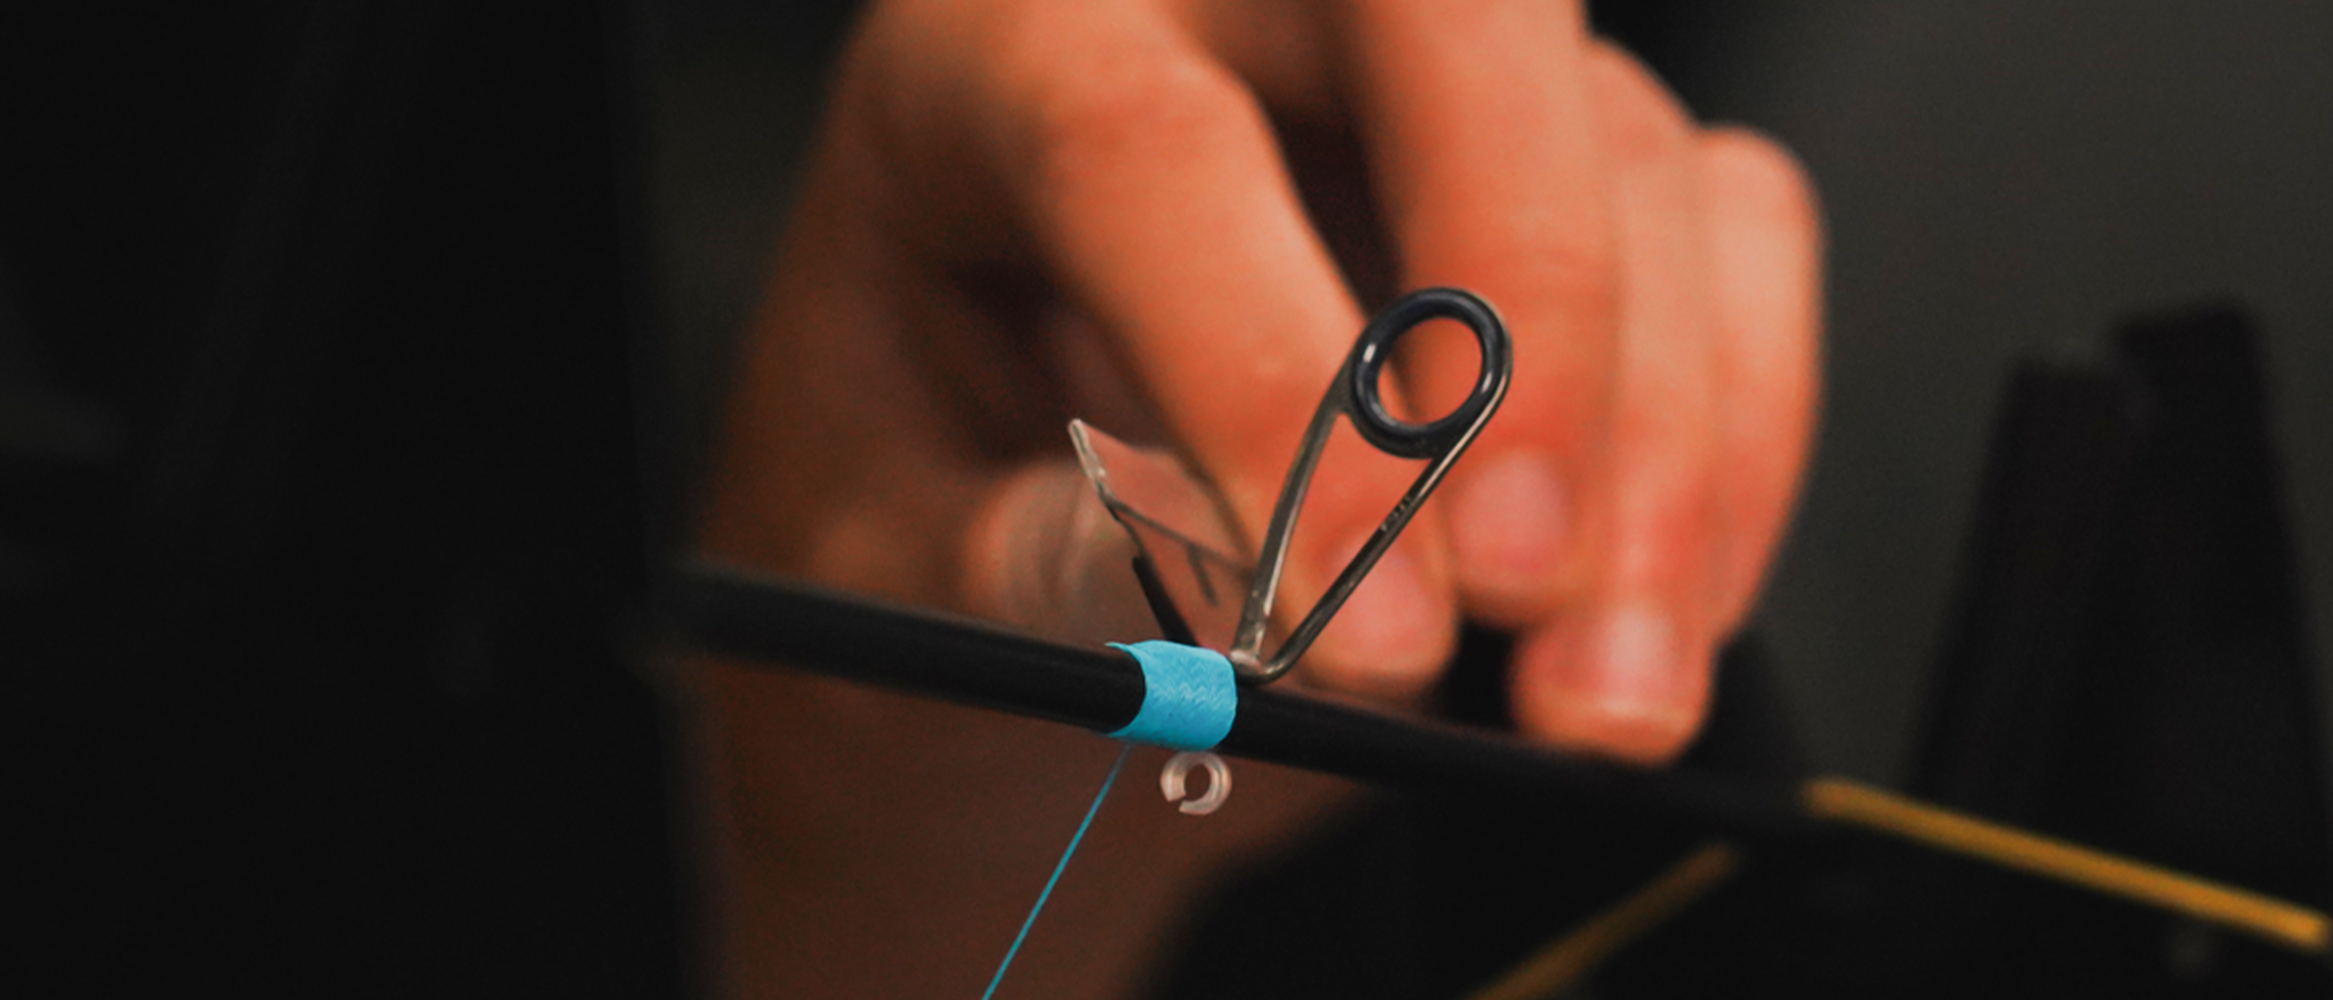
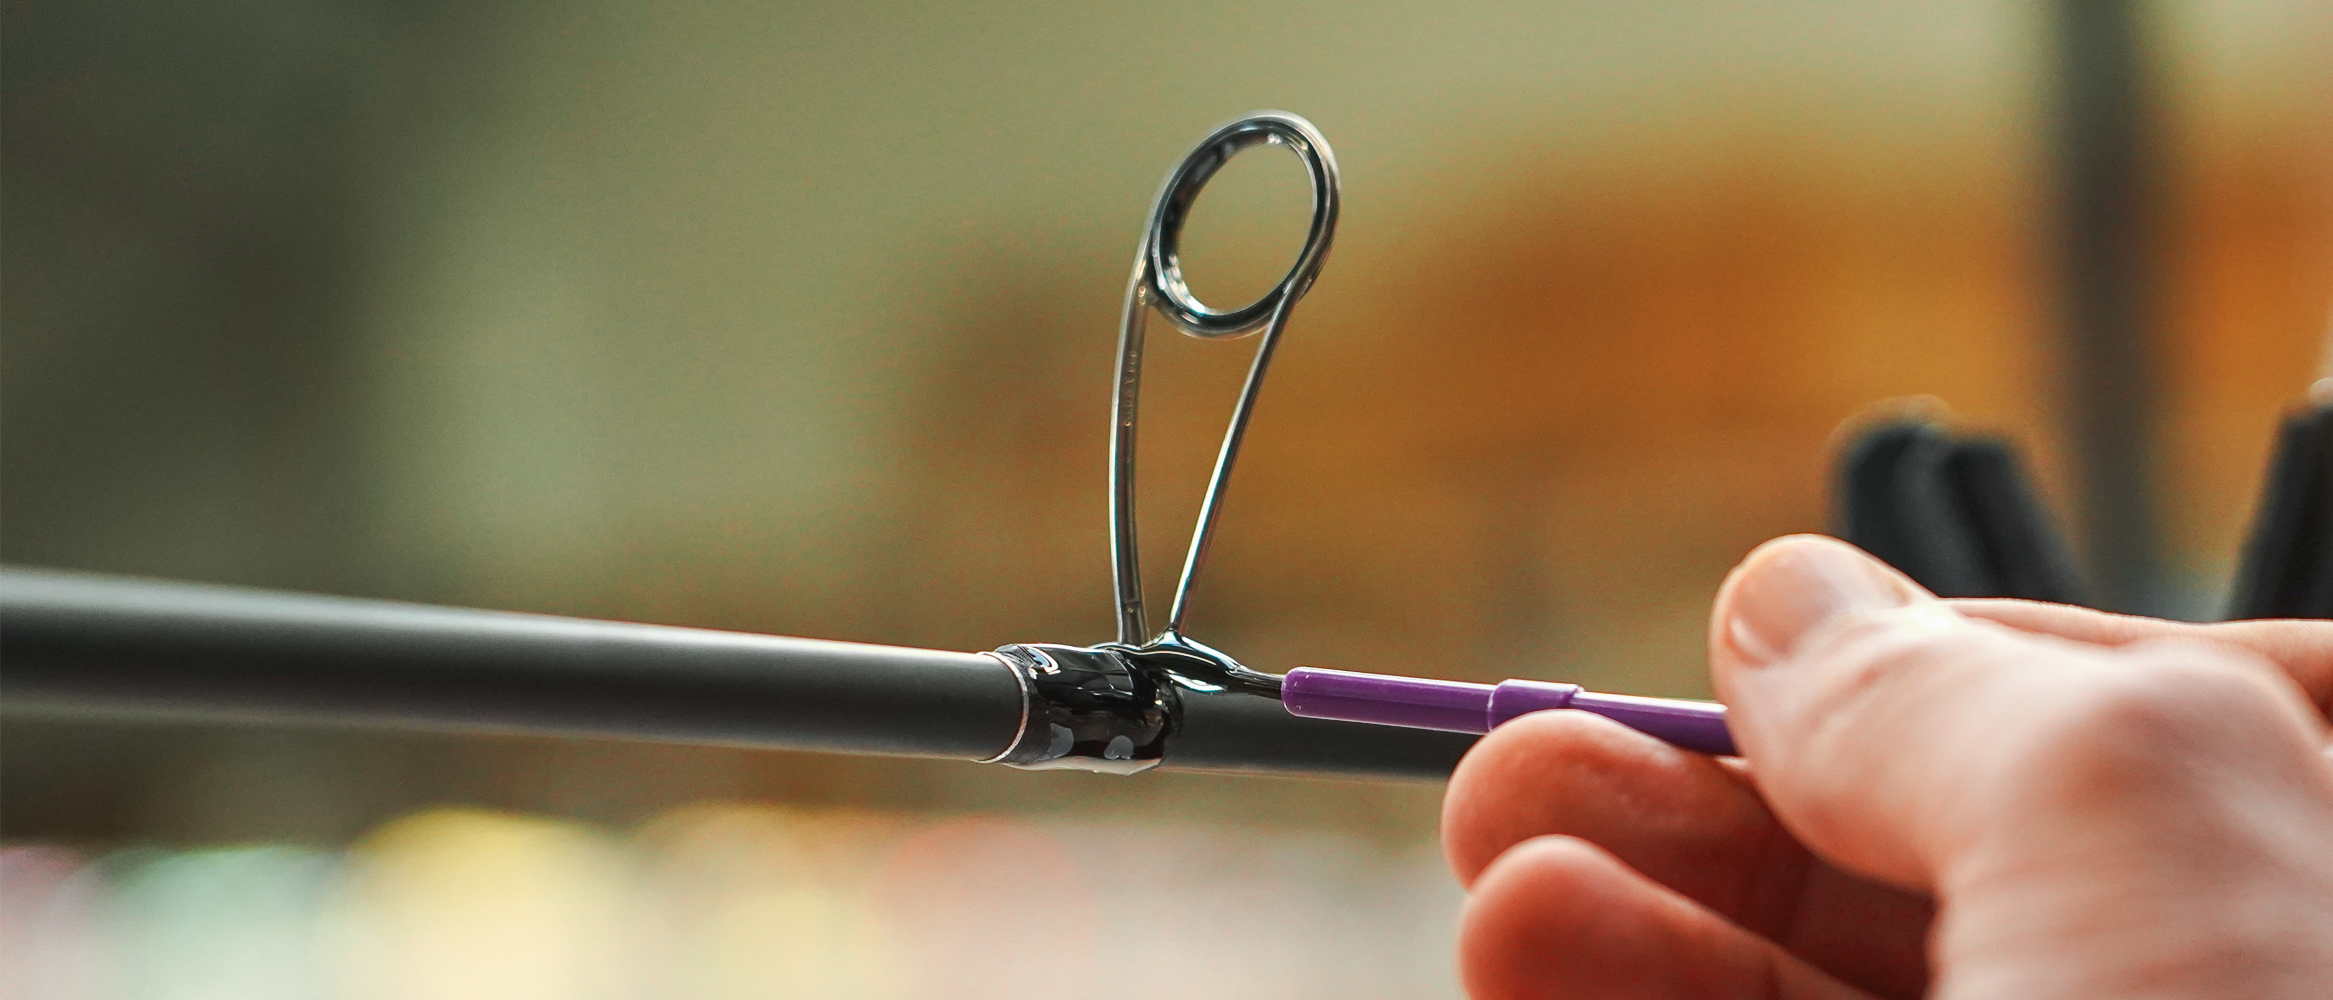
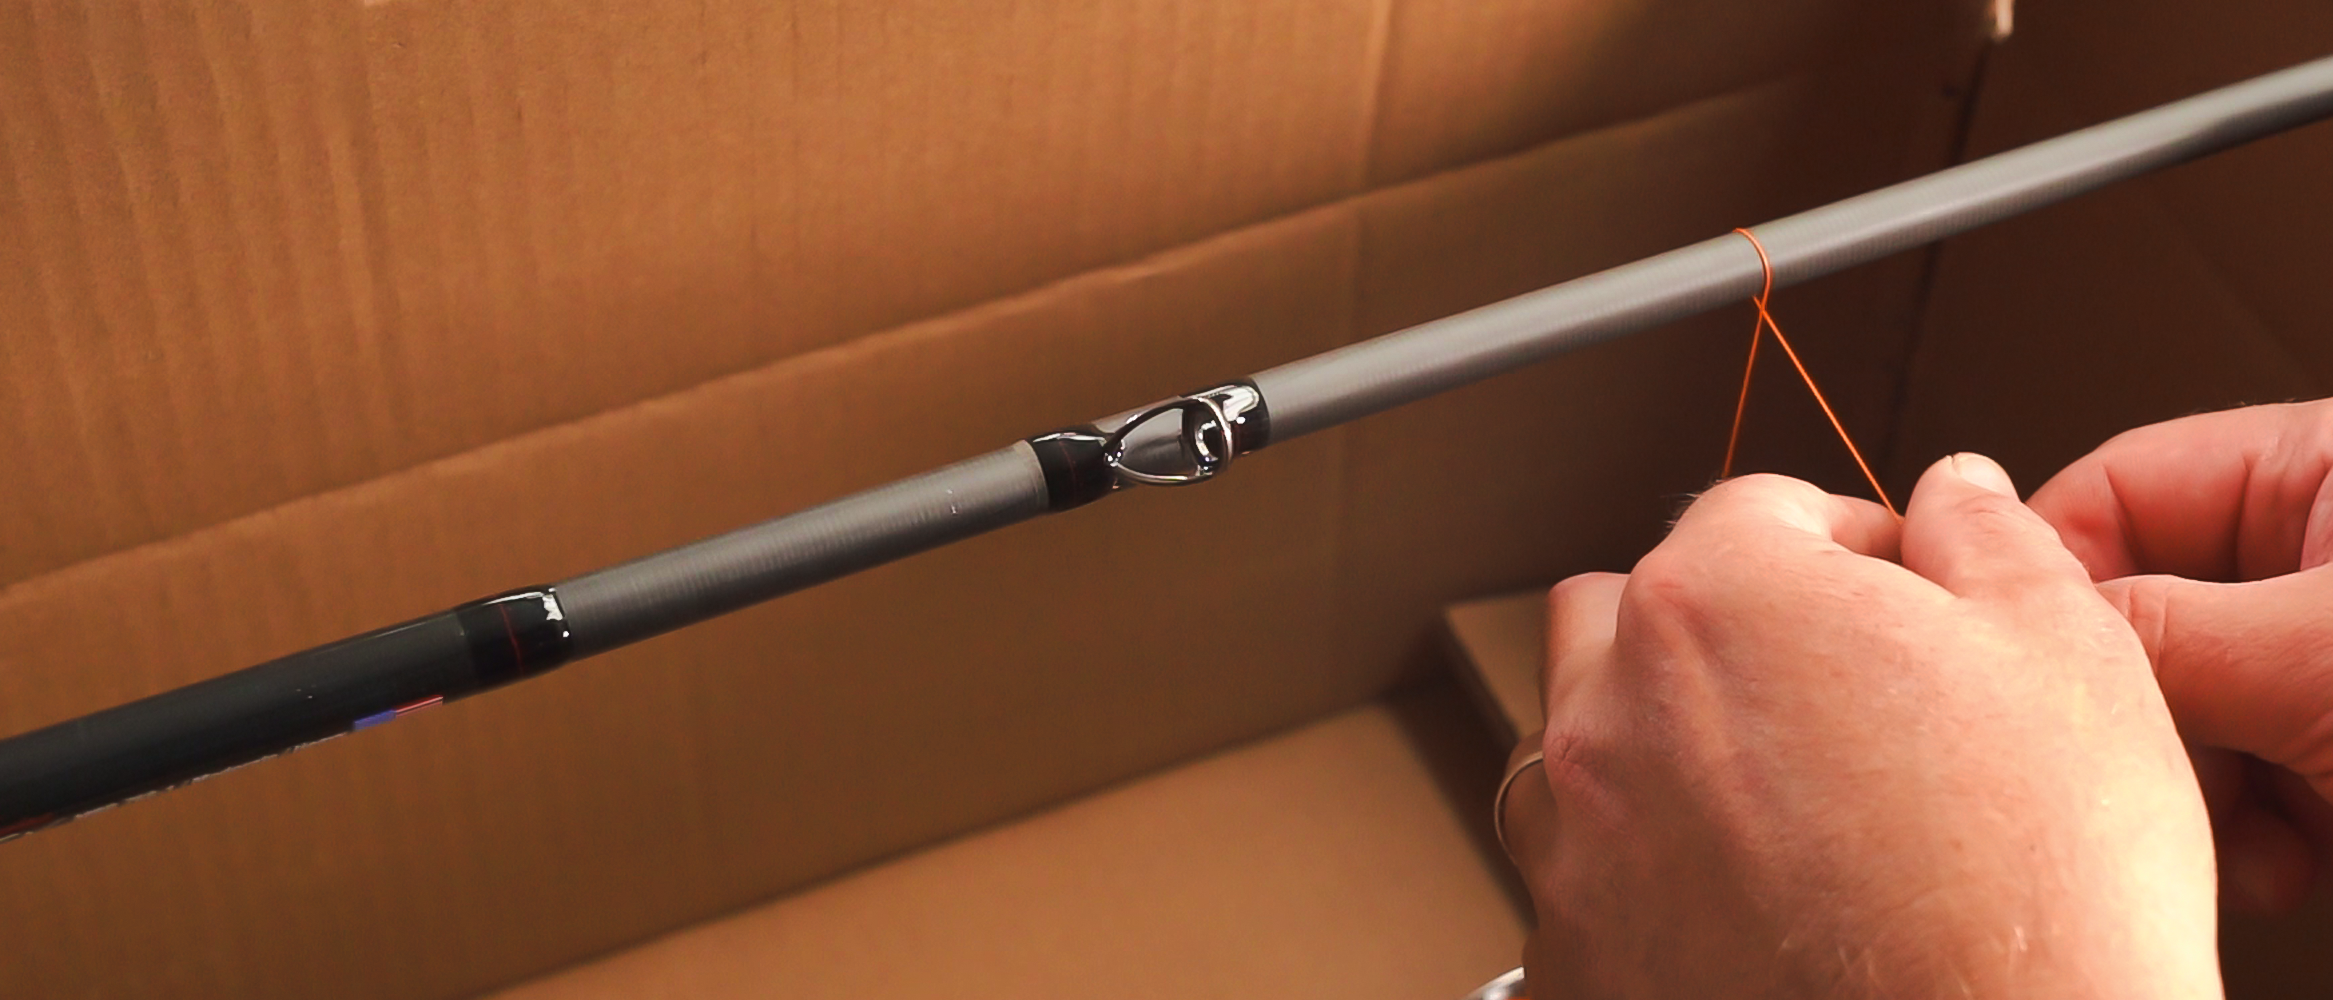
Make a small 1 or 2 mm border of varnish on each side of the ligature, to protect it, and limit infiltration. The technique consists in holding the brush on a fixed point and letting the blank rotate. The result will be cleaner and the demarcation straight.
Debulk:
Once you've applied your Flexcoat varnish, debulk with an alcohol lamp.
[caption id="attachment_1326" align="aligncenter" width="800"] Be careful, an alcohol lamp remains a tool to be handled with care, no children or animals around, and take your time.[/caption]
The idea is to direct the flame by pressing on the flexible body of the lamp, not directly on the blank so as not to burn it, but slightly above it. You'll see that the micro-bubbles disappear instantly. The debubblizer knocks off the excess Flexcoat, leaving only what's needed, nicely smoothed.
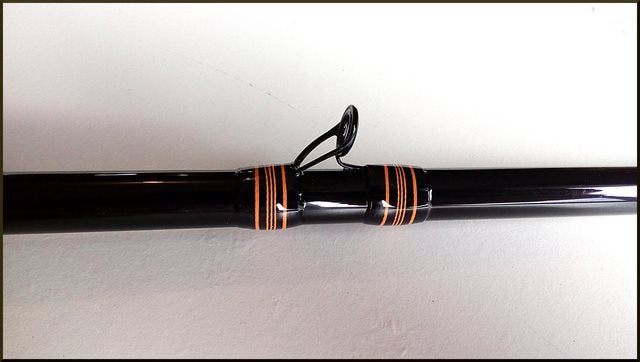
[caption id="attachment_1328" align="aligncenter" width="638"] Apply these tips with your varnish, and you'll see you'll get pro results.[/caption]
Then leave your varnish to cure for 5 days, in a warm, dry room in your home.

Leave a comment
All comments are moderated before being published.
This site is protected by reCAPTCHA and the Google Privacy Policy and Terms of Service apply.