


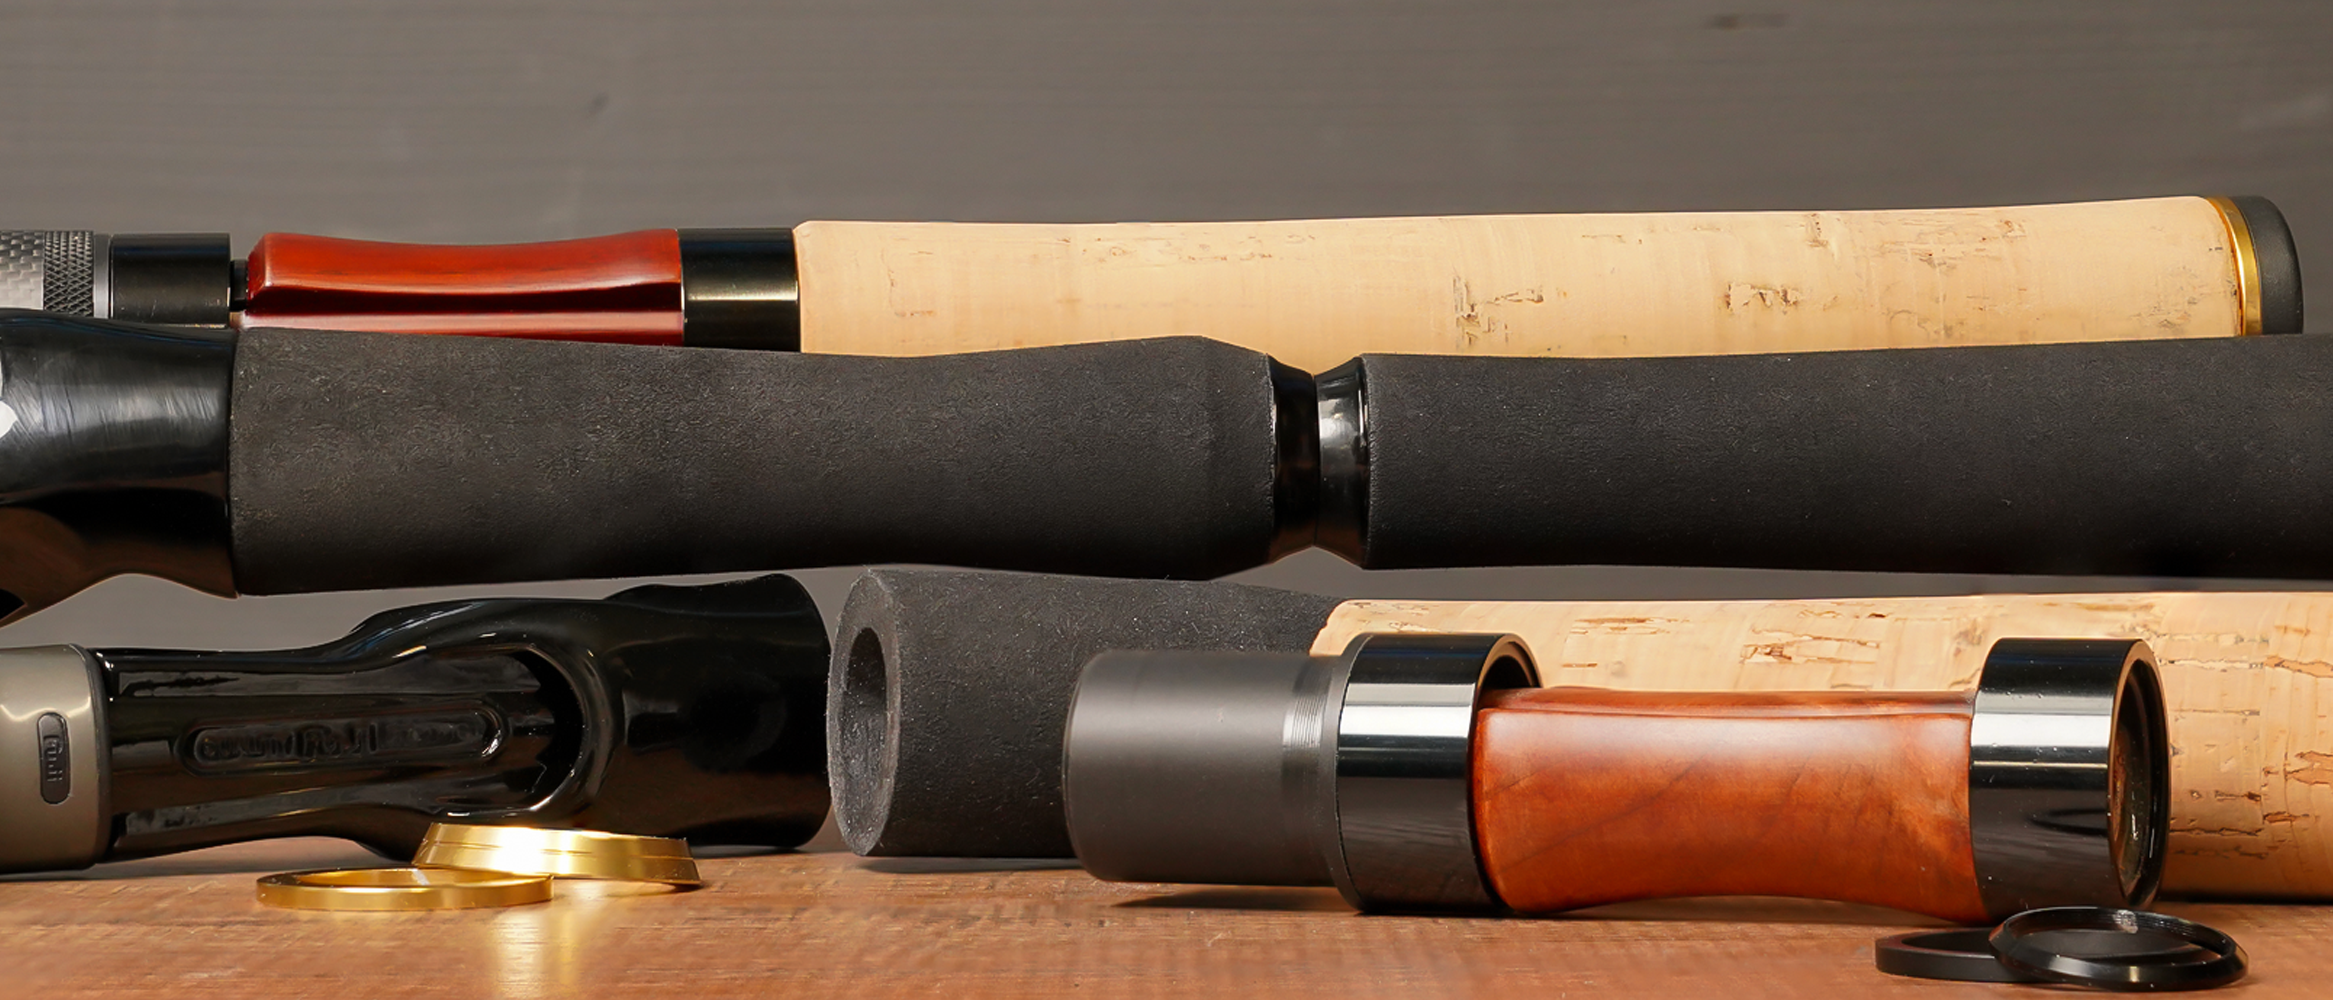


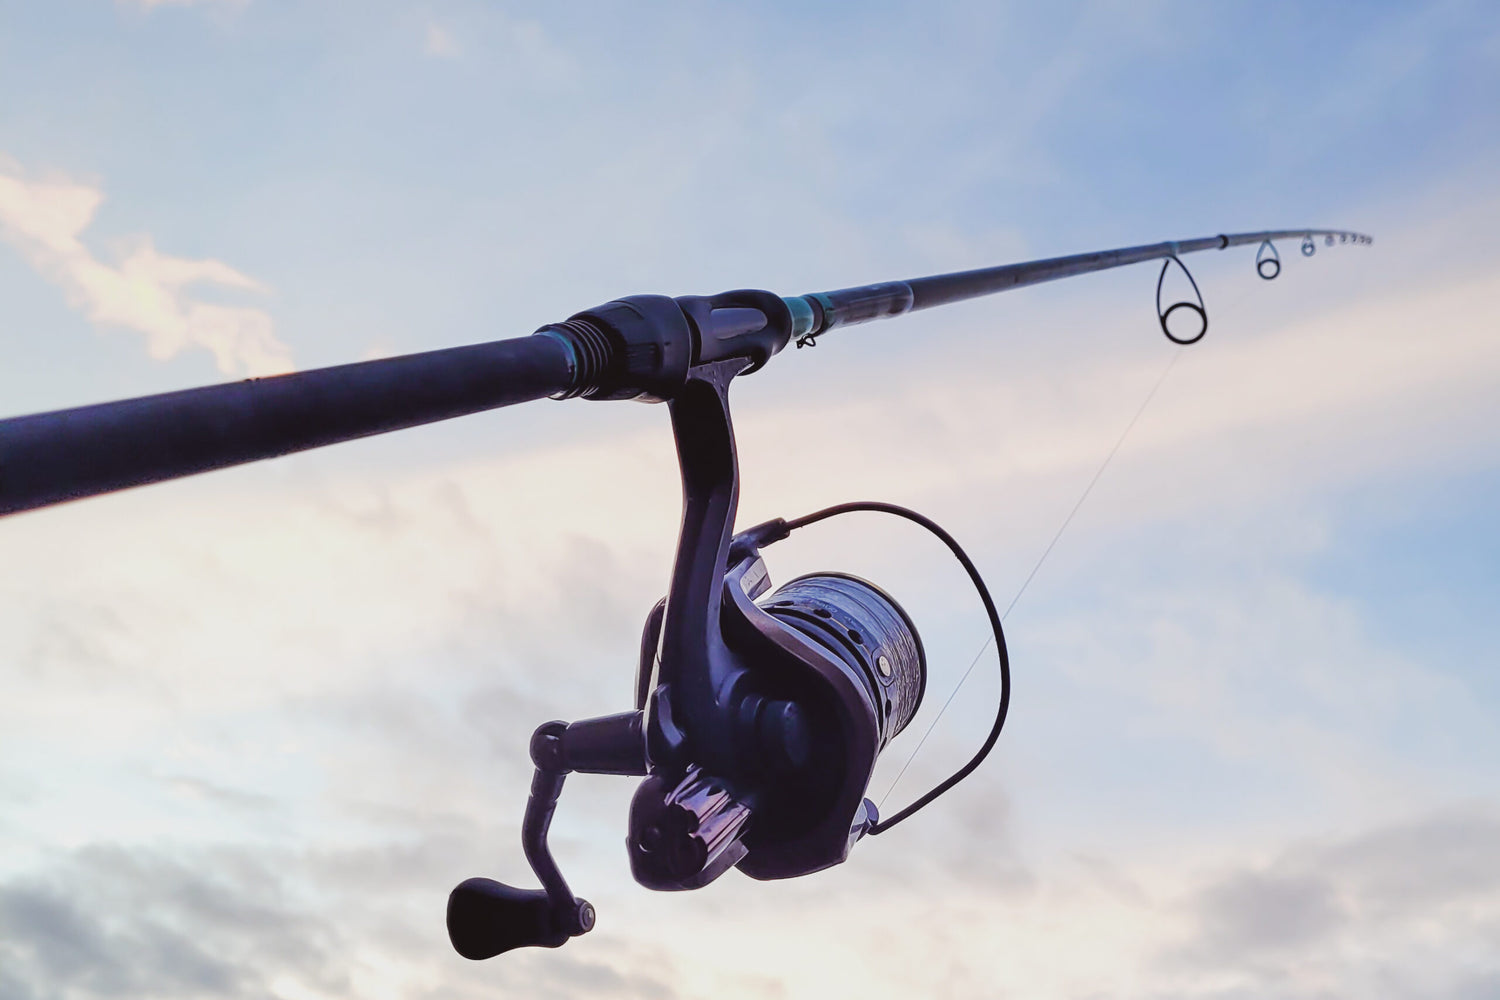
- The handle: the lower portion of the rod that you hold in your hand. Made of cork, EVA, etc., it also includes the reel seat .
- The reel seat: well, I'm sure you know what that is .
- The blank : this is the body of the rod, made of carbon and/or fiberglass, or bamboo, ...
- The butt: the larger end of a cane, on which the handle is mounted
- The tip holder: the part on or in which the tip fits .
- Recovery : the ability of a rod to become stable and straight again after compression due to casting. The faster, the better!
What is a feeder rod?
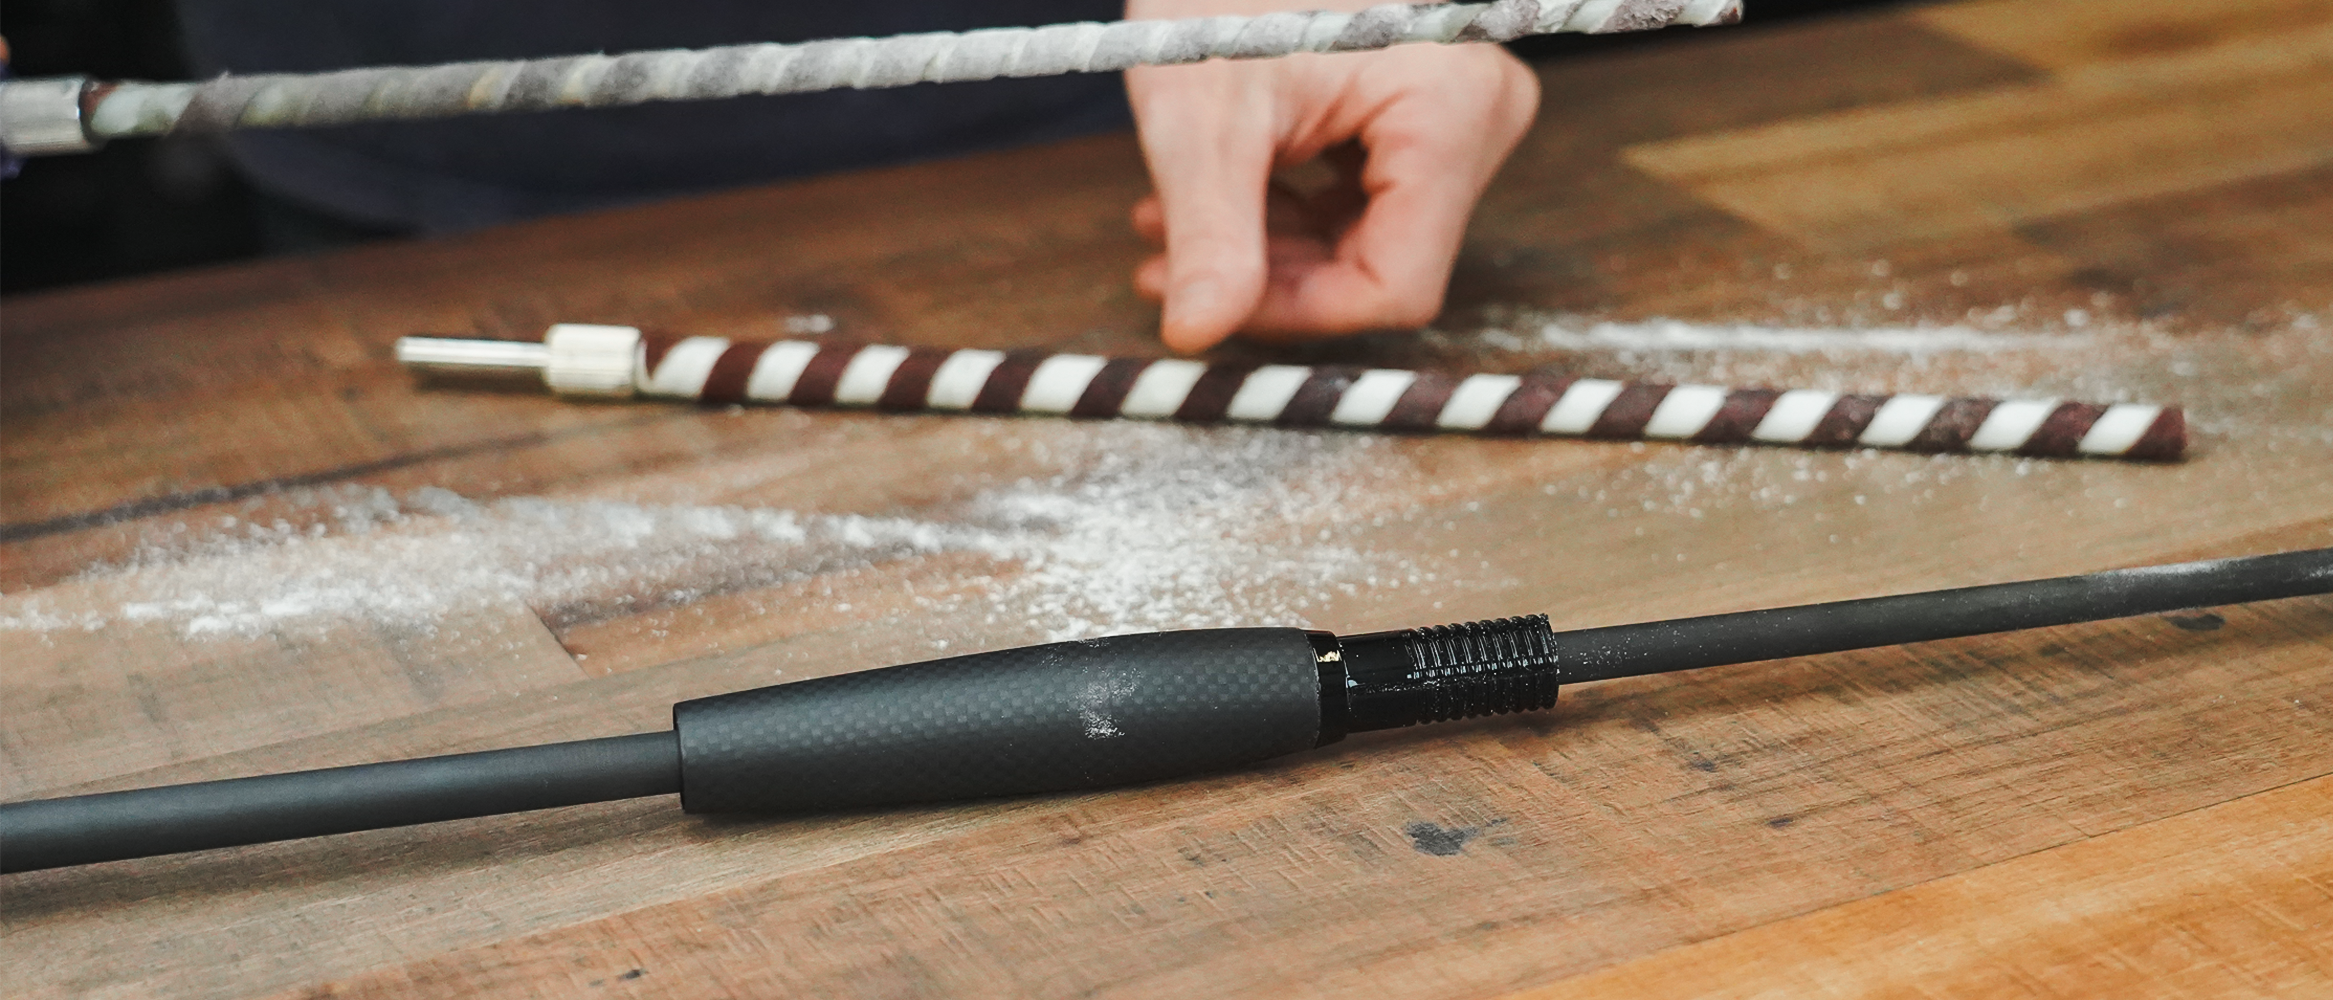
A feeder rod is the (not always) subtle fusion of sensitivity and power. You might as well say it's a marriage of fire and water! Roughly speaking and without too many subtleties, we can say that this rod is separated into 2 zones: the tip, which is responsible for detecting bites, and the butt, which is responsible for more or less distant casts. I'm sure you're shocked by my very Manichean description, and rightly so. But it's clear that the better the rod, the more subtle the transition between these 2 zones.Detecting hits vs. effective casting
We all agree that the tip is best placed to detect bites. In order to make it more sensitive, we've lengthened it again and again, bringing into the equation a little worry: increasing the part of the tip means decreasing the part of the cast. When casting, the tip is the fastest-moving part of the rod, increasing its inertia. The longer and heavier the tip, the greater will be its inertia, with the result that the rod will tend to swing up and down more at the end of the cast, reducing its performance and increasing the risk of tangles and line loss. For short distance fishing, this is not really a problem, but as soon as the effort on the rod increases, the weight of a long full tip becomes an annoying constraint. The rod could be made stiffer, but this would be at the expense of its lightness and the flexibility needed to work the fish. Nobody needs a heavy boner (well, it depends on the situation)! As you can see, to do the job properly, the rod needs to recover its stability and straightness as soon as possible after the compression phase of casting, and the weight of the tip is the biggest Obstacle to this. The solution found by the manufacturers is to make partially hollow tips, thus limiting the proportion of full tips and the weight of the whole assembly, all the while fine-tuning this fundamental transition between supple and powerful. Shimano Aero X7s are a flamboyant example of the intelligent re-use of the "spliced tip": in this case, tip and tip-holder become one. It's extreme, but the performance is exceptional. Middy uses a less integrated version that retains the tip holder: it's the tip that is "spliced". In both cases, sensitivity and power are combined. The only victim of this is your budget, as these models are not particularly cheap! "But it's awful what you're telling us, Jeanno, the "put-in" scion on our beloved feeder rods would therefore be dead!?!?" Don't get carried away, my little chickens, the simple and effective "put-in" technique isn't dead yet, far from it, because, properly executed, it's still effective! Indeed, for me, the future lies in relatively short scions (50-55cm maximum), to avoid weight, and long enough tip holders to ensure a seamless transition. The tip holder will therefore take over part of the touch detection by accompanying the tip in its bend, while having enough nerve on the lower part to take part in the casting. A brand like MS-Range has done this very well with its Ultra-Light range of rods, remarkably sensitive, but capable of casting very far for their power (60m+).Ring selection and layout - between goal and economic reality
Preamble
If there's one thing we can say a lot about, it's the choice and layout of rings on our feeder rods. As I often see it, the brands (I wouldn't say "manufacturers", given their rarity in Europe) have clearly understood that this is an area where they can make substantial savings: here, we'll use cheap Chinese rings, but not necessarily bad ones, far from it (their problem is that they're often very heavy) or, worse, full stainless steel rings, without ceramic, which will wear out in 2 seasons at best, if the alloy is of good quality. The latter fashion is accompanied by dubious marketing, boasting exceptional hardness, but which in reality is far from approaching the basic ceramics of other rings (some even speak of stainless steel 3 times harder, which is technically totally impossible). Then there's the larger internal diameter supposed to reduce friction, an advantage largely offset by the greater friction of the line on the steel (much less smooth than ceramic) and, finally, the lighter weight (which, compared to good SeaGuide or Fuji rings, is an argument that doesn't hold up very well). Above all, these Inox rings are so inexpensive that they're an economic godsend for the brand that uses them and for... the fitter that I am, who replaces them! They're a 50-year throwback, a misplaced vintage. Rods fitted in this way are destined to end up in the garbage can, their reassembly with good rings far exceeding their new value. This saddens me in a world where we should be chasing waste, rather than increasing it!Selection and layout: a matter of reel and twist
The following paragraphs apply to feeder rods, but also, with a few adaptations, to Carp rods, which are also bathed in the past on the side of ring distribution.The reel
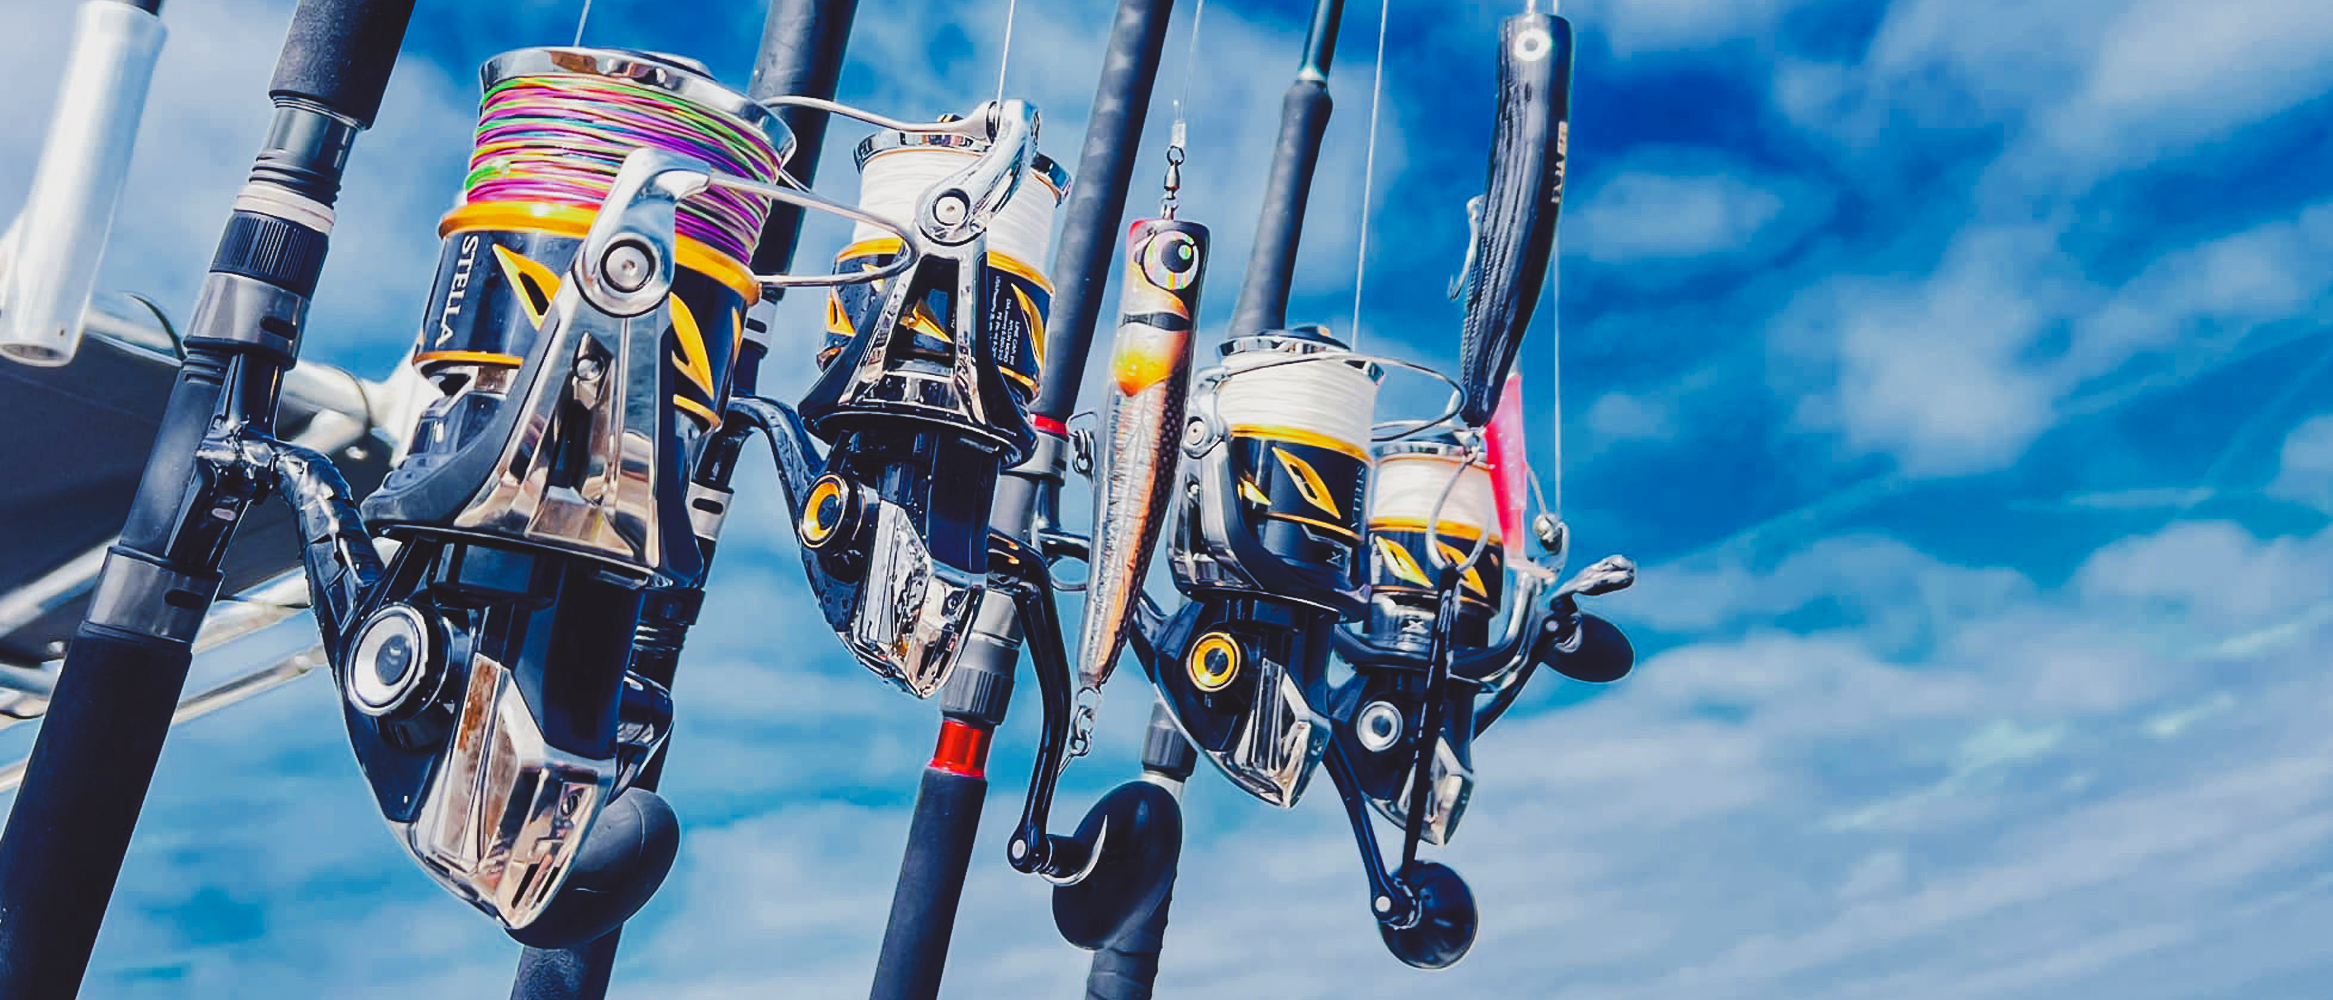
It's not at all odd to talk about reels here. I'll give you my point of view directly and without precaution: stop using small reels on the feeder, it's useless and even ineffective! In fact, many of us have kept the habit of using small reels for both match and spin fishing. Their lighter weight makes them more comfortable to use during a day's fishing "rod in hand". However, feeder fishing is 95% rod and reel, so the static weight of the reel is not a problem. On the other hand, the weight of the feeder and its drag when retrieved put enormous pressure on both rod and reel. As a result, the need for a strong, torquey reel becomes apparent, ruling out anything below size 4000. For my part, my 4000s are now only used for light fishing and, in 7 cases out of 10, I use my Daiwa Feeder 4012 TDs, which are as big as other brands' 5000s and have truckloads of power. This means I can reel in my line very quickly and effortlessly. Above that, Shimano Ultegra 5500s take over. To tell you the truth, I used to have 3500 reels, but I don't have any left! So how do these big reels affect the rings? It's simple and has to do with friction. The reel's spool is aimed at a point on the rod often located between 1.5 and 2 metres from it. The foot of a larger reel is longer, so the spool is further away from the rod blank. If you draw a cone around the axis of the reel, up to the target point on the blank, it's important that the center of the first rings is as close as possible to this axis, in order to limit the angles formed by the line with the edge of the ring and thus limit friction and vibration. The gain is not just in performance, but also in comfort.


The twist
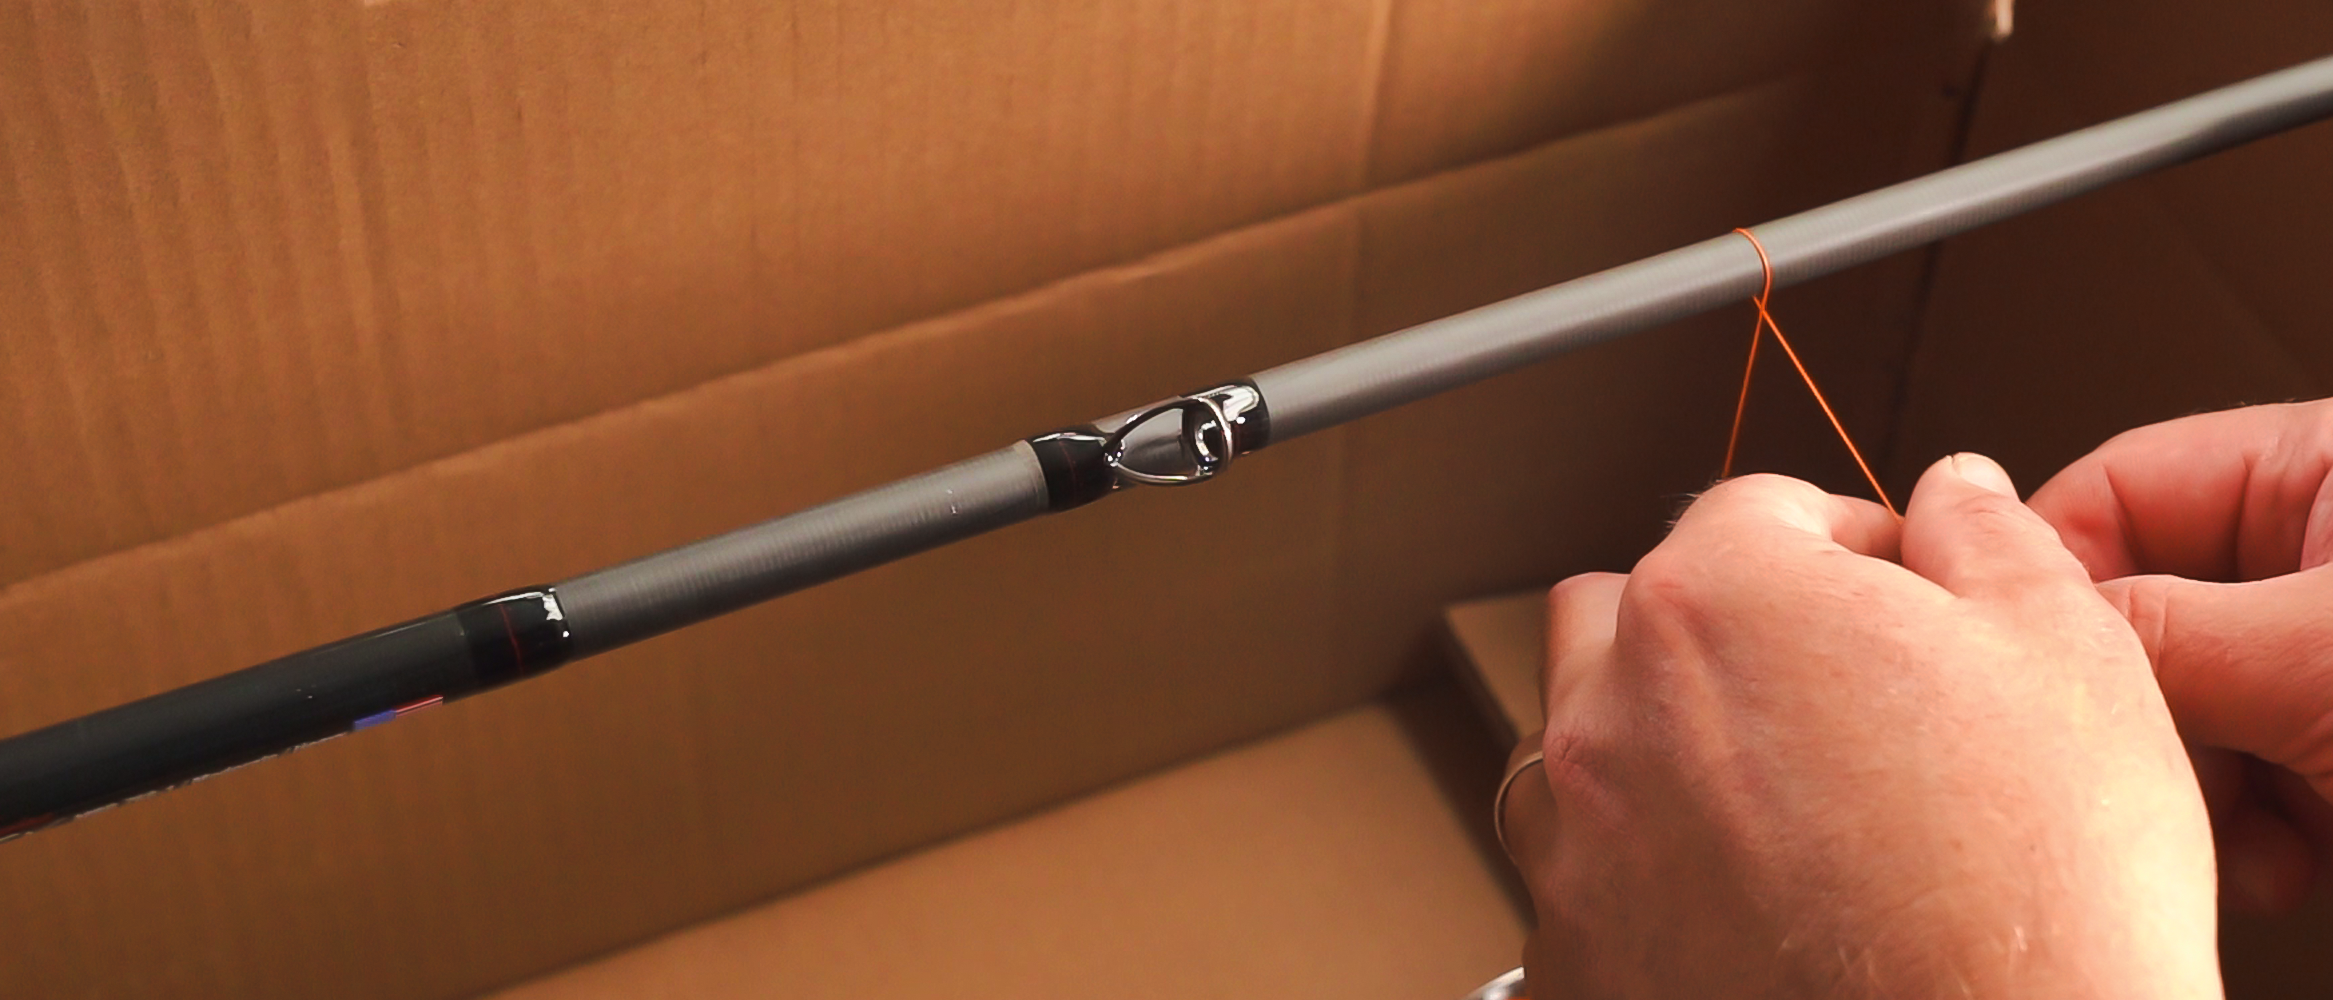
A blank is supposed to bend when cast, but not twist. During Assembly, we spend a lot of time centering the blank and finding its "direction". There are many reasons for this: properly mounted, the rod will be more accurate (a quality required for all Distance fishing techniques) and, by bending only on one axis, the rod will use all its power to go far. In other words, any twist equals a loss of power and precision. Surfcasting, which is THE disciple queen when it comes to distances reached (casting records close to 300m), curbs the problem in 2 ways:- More rings: with today "s ceramics, imagining that 2 or 3 more rings will create awful friction is a mistake, especially since the line will form smaller angles between the rings if there are more of them, thereby reducing friction and allowing a much better distribution of power .
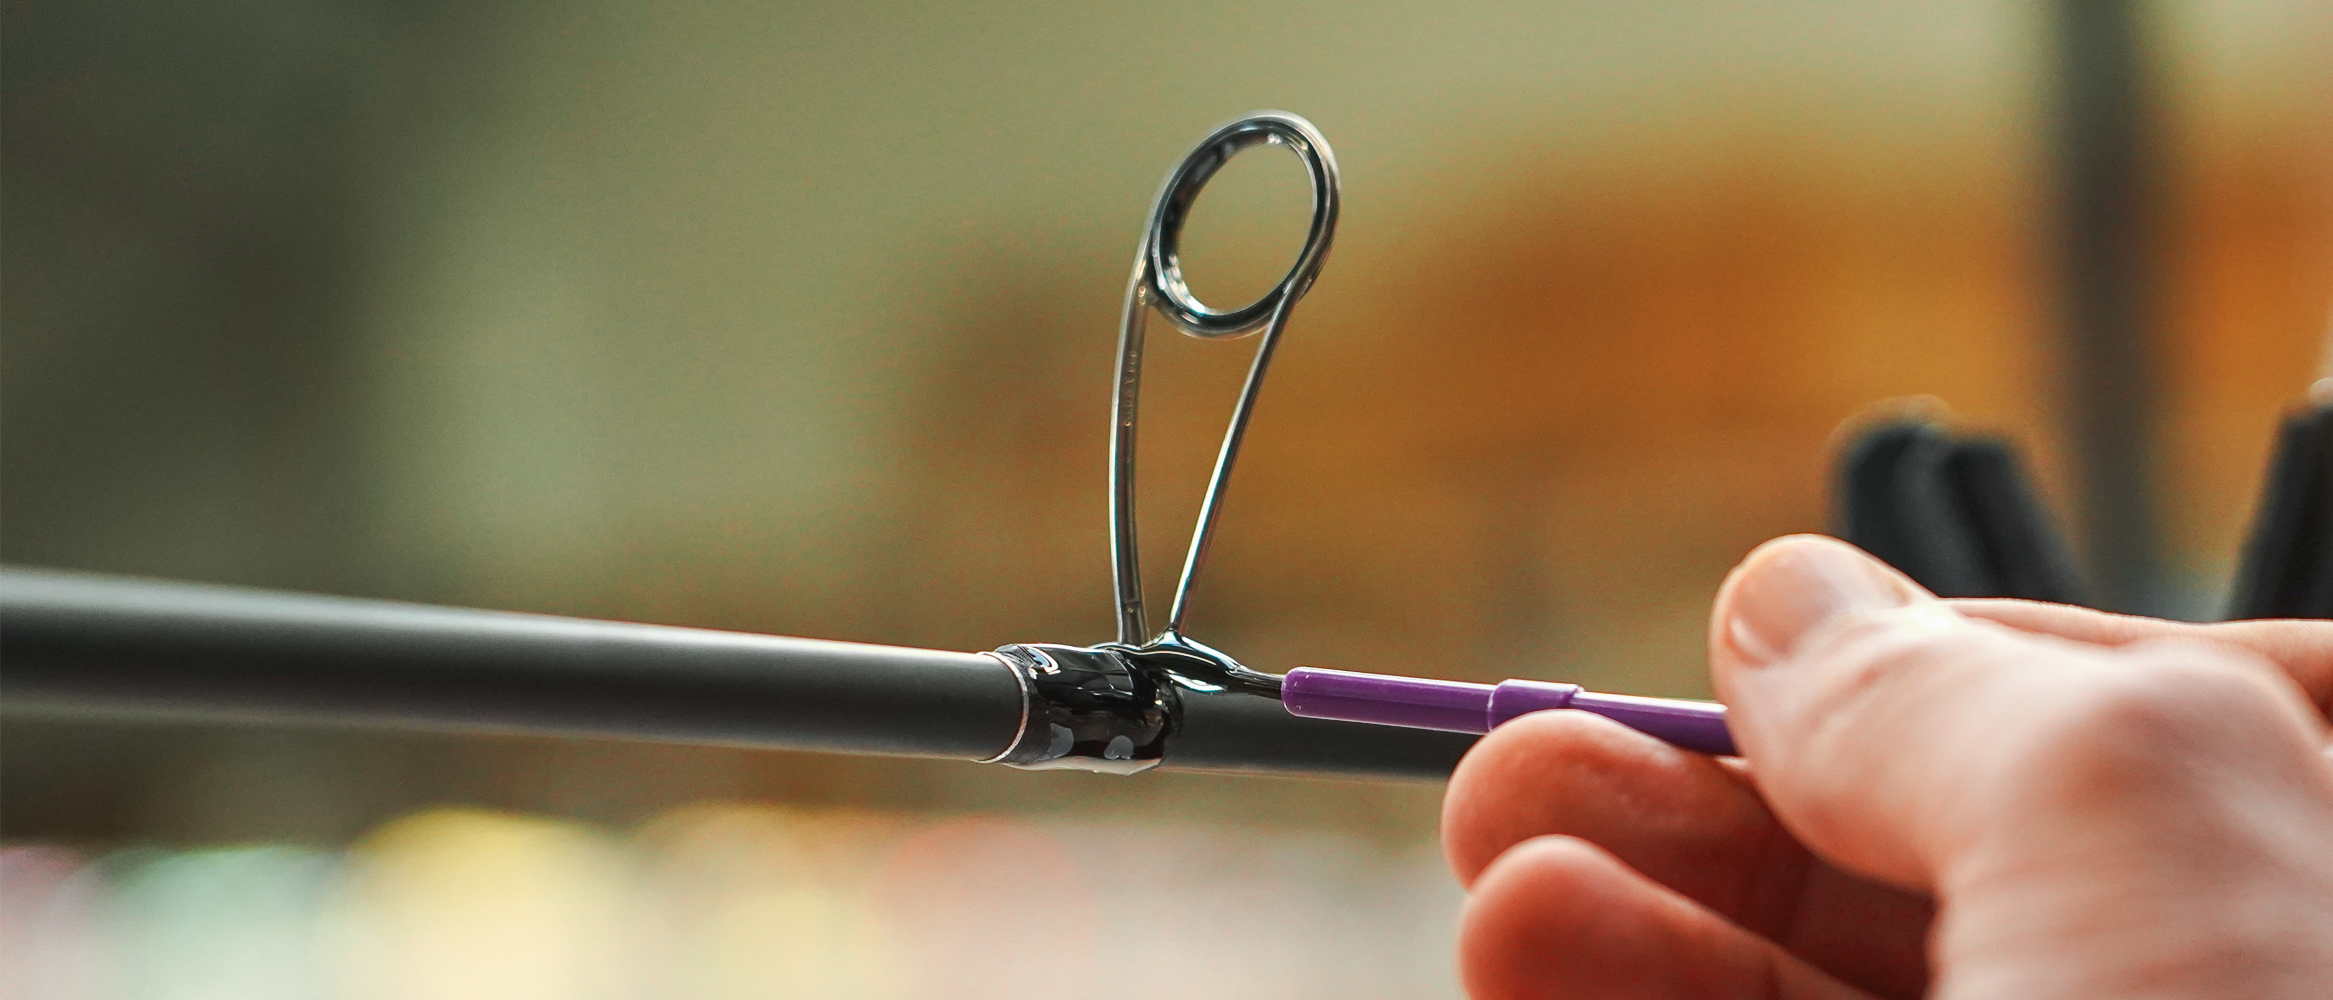
- Lower rings and very close to the blank in the part that will bend: in fact, using high rings will create a significant lever arm, making it easier to twist the rod (typical of 5- or 6-ring assemblies on Carp rods... the twist can exceed 90 degrees from the looks of the photos). With a line close to the blank, this lever arm is so reduced that twisting is almost non-existent .

Disposition
As I've already said above, I think ring layout is often just based on habit. I very regularly see the first ring tied quite low, very (too) close to the reel. This placement is understandable on parabolic actions, but not on today's progressive tip actions. Blanks have come a long way since then, but it seems that the distribution of rings on the tip remains a legacy of the last 30 years. With a stiff butt and well-chosen reels, you can (and should) place that big ring much higher up, much as is done on Carp rods. The aim is for it to form little or no angle with the line exiting the reel (as explained in an earlier paragraph).


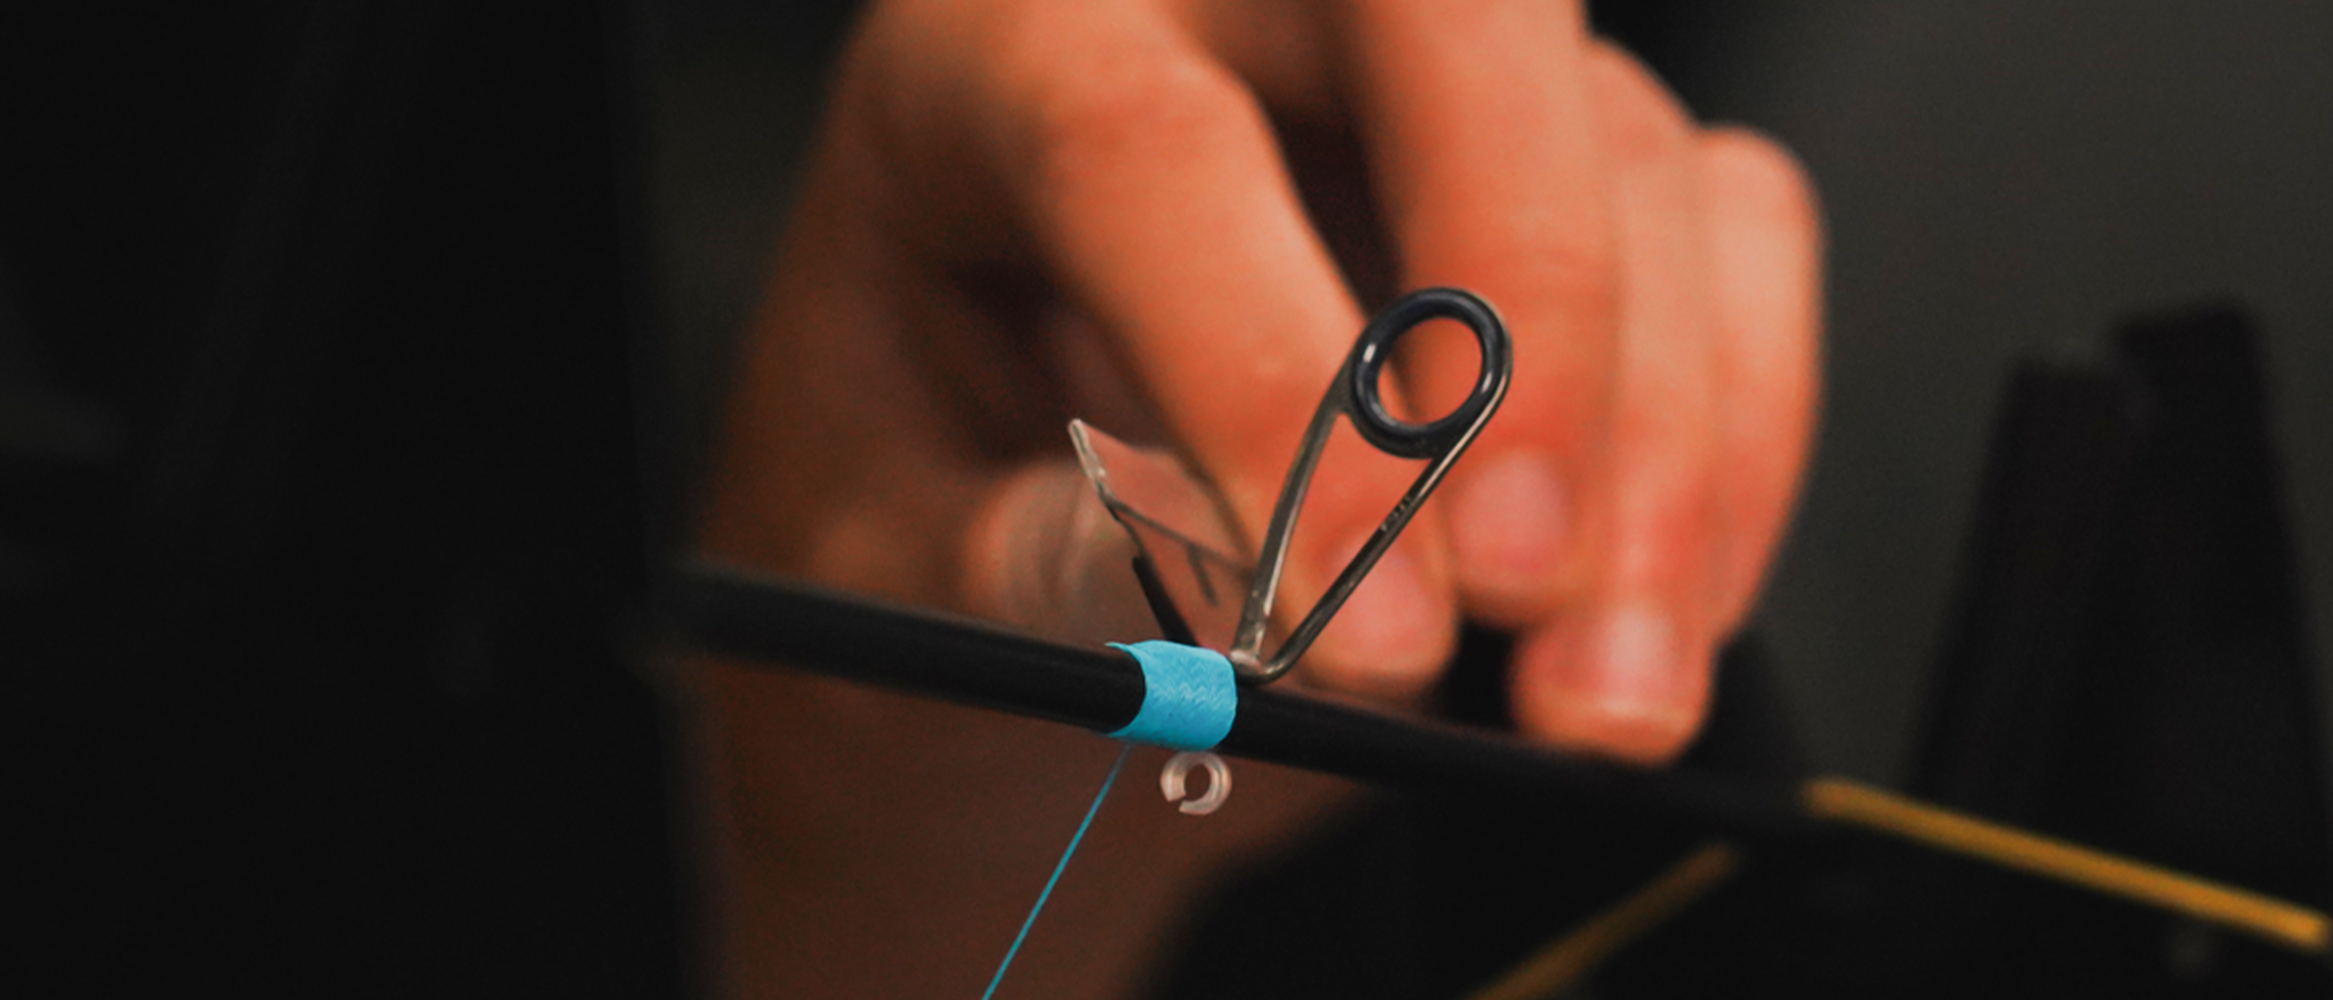
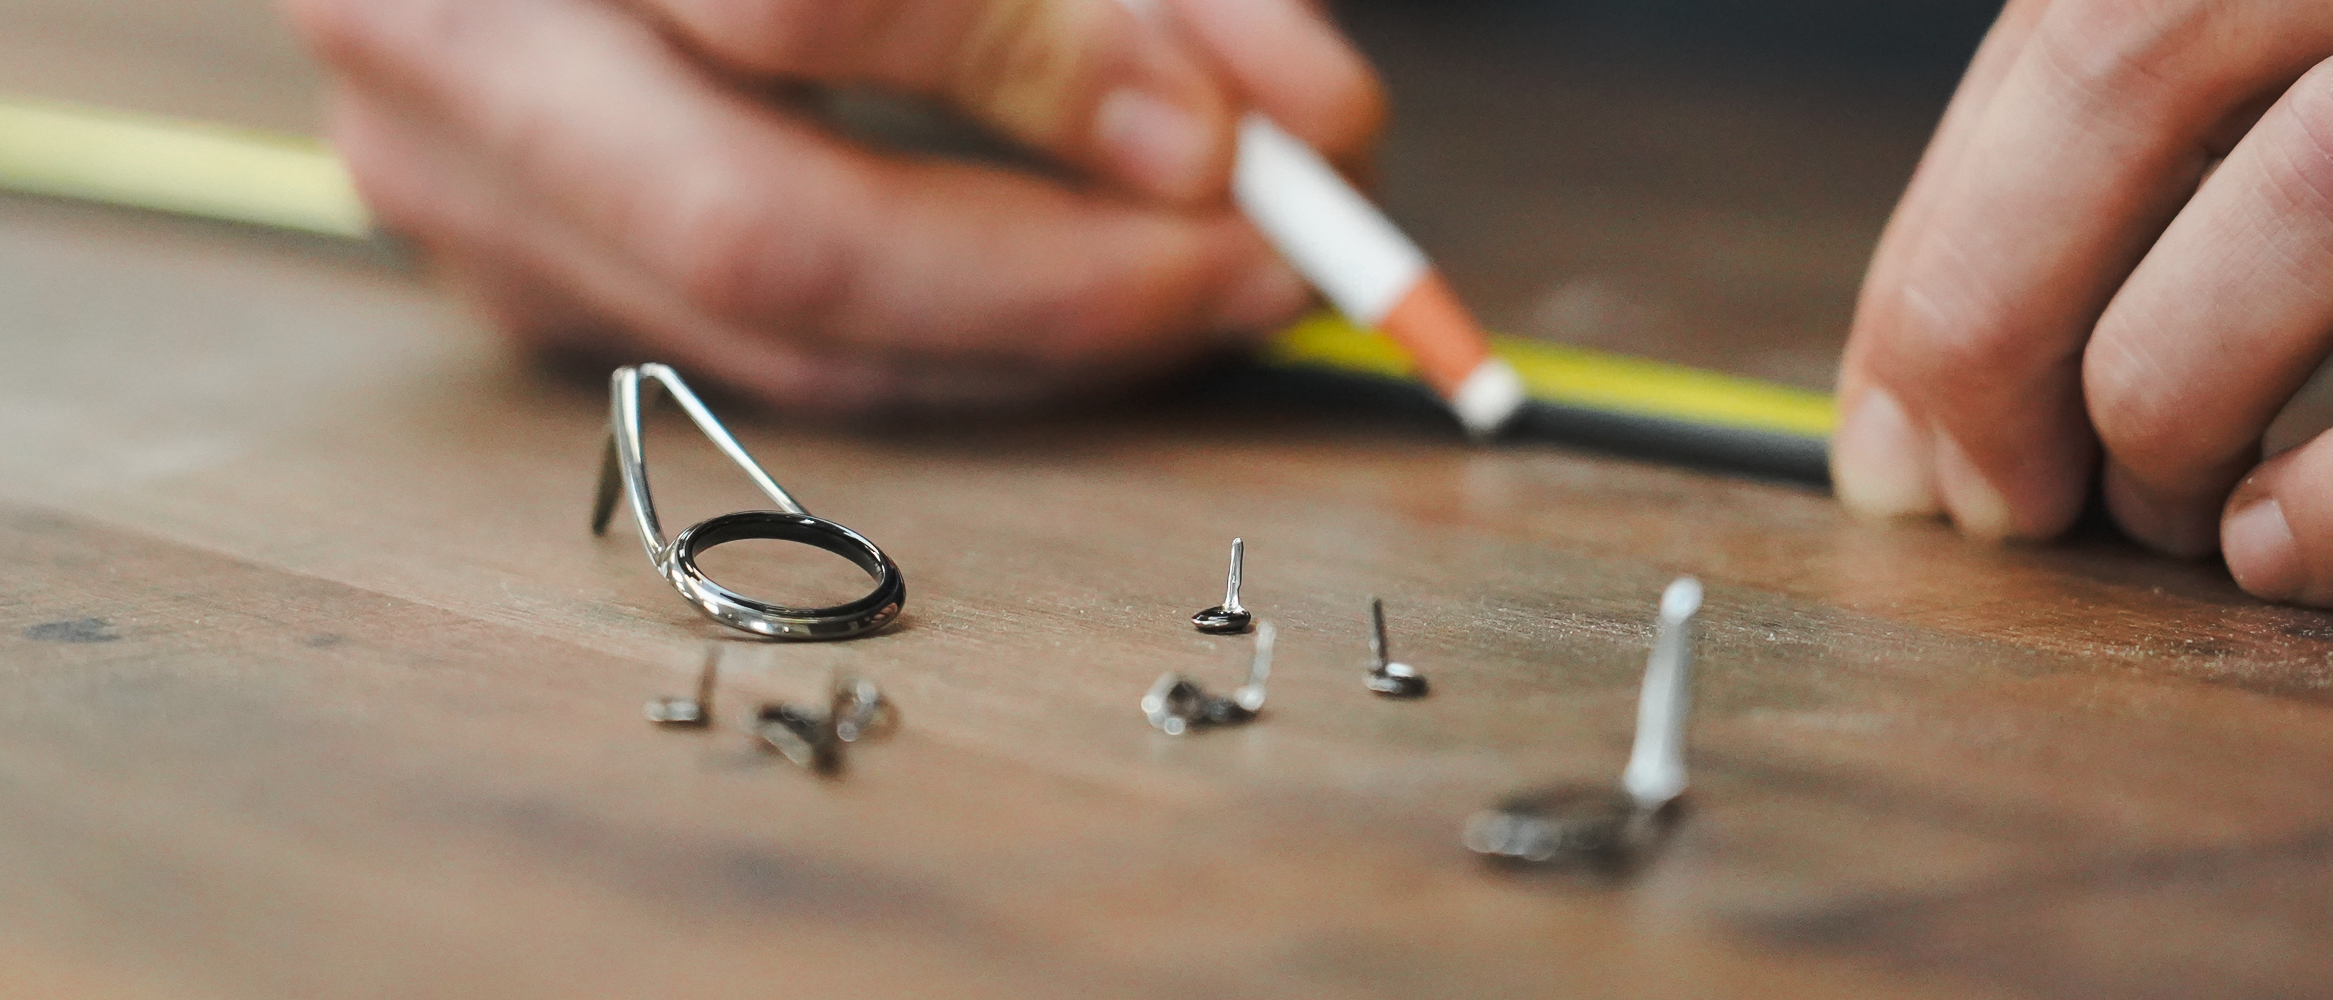
By the way, what's a ring for?
The question is worth asking, and the answer is twofold:- A ring is used to pass the line when casting and retrieving. It can be internal or external
- Through its multiplication, it distributes the pressure on the blank, pressure created either by the casting action or by the work of a fish .
- With rings too high in the fold zones of the blank, the slightest lateral force will find a very useful lever arm in the foot of the rings to cause the blank to undergo a sometimes impressive torsion, synonymous with the dispersion of a little power and precision .
- Similarly, with too few rings, the Drift and lift on the line will not only be transmitted perpendicularly to the blank, but will also be applied between the rings, bringing them closer together, thereby pinching the blank, which will bend between the rings. Again, this disperses power
 For my part, I work on the principle that a line that forms excessive angles between the rings should be better supported. So I start with too few rings, then increase the number until I find the right compromise. It's empirical, but it works!
The evolution is underway. From what I'm seeing and hearing, more and more well-fitting rods are available on the market, especially from the top-end British and Dutch brands. I think, however, that it's often the anglers rather than the developers who are the most conservative, and I've lost count of the comments I've heard about anti-tangle rings, "too different from the ones we've always had", etc, etc. But it's changing!
For my part, I work on the principle that a line that forms excessive angles between the rings should be better supported. So I start with too few rings, then increase the number until I find the right compromise. It's empirical, but it works!
The evolution is underway. From what I'm seeing and hearing, more and more well-fitting rods are available on the market, especially from the top-end British and Dutch brands. I think, however, that it's often the anglers rather than the developers who are the most conservative, and I've lost count of the comments I've heard about anti-tangle rings, "too different from the ones we've always had", etc, etc. But it's changing!
Let's get back to business: the distribution of rings on a feeder rod!
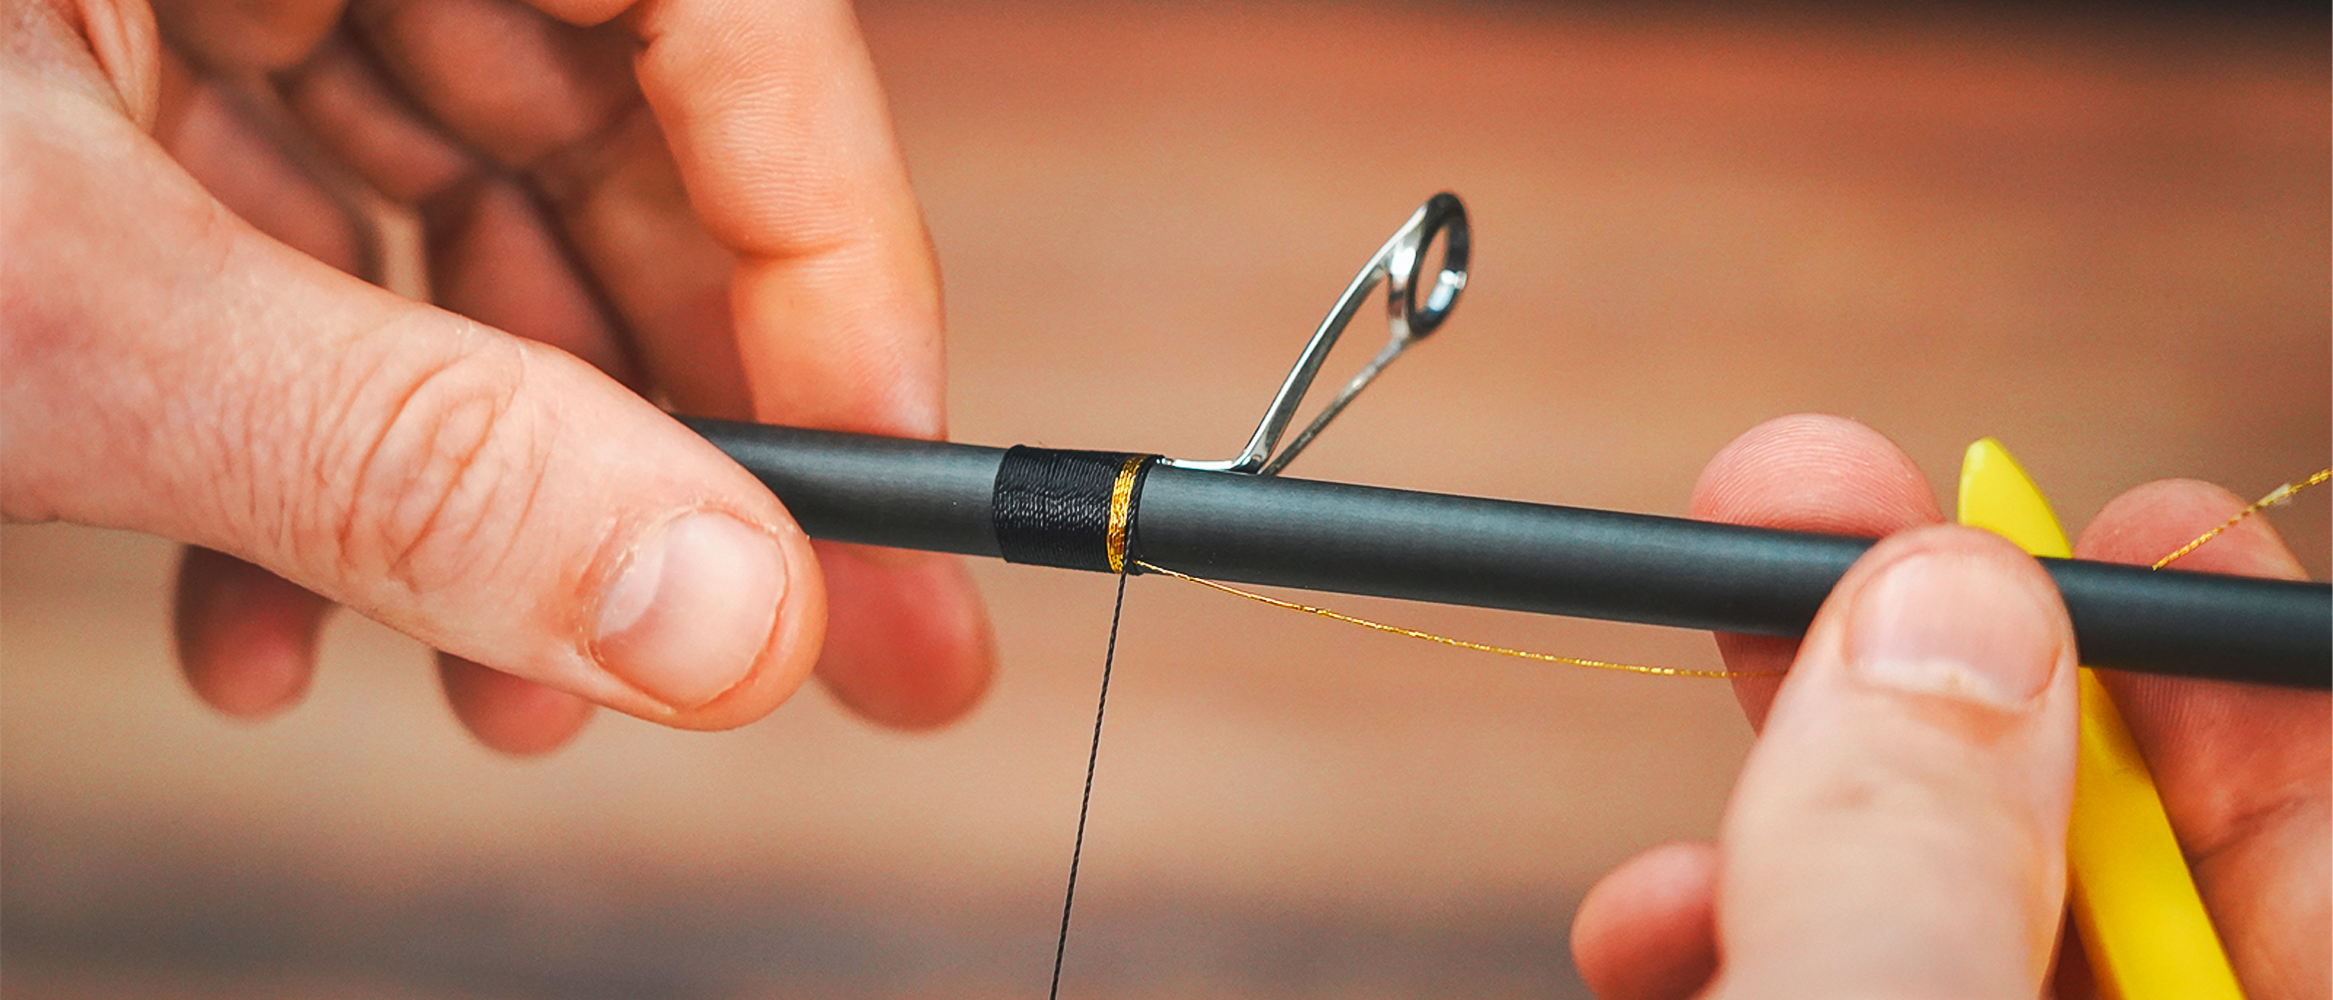
When I make a ring distribution, whatever the rod, I always remember to respect a few principles:- Create a good taper on the larger rings and adapt it to the reel used = less friction.
- Favor shorter rings on the bending part of the blank and on the tip = less twisting and less weight.
- Stay light: rings (as much as necessary, as little as possible) and Wrapping (minimum in size and maximum in strength) = more power and faster recovery.
- Guarantee that the line forms the most obtuse (flat) angles possible between the rings, to reduce friction = less friction.

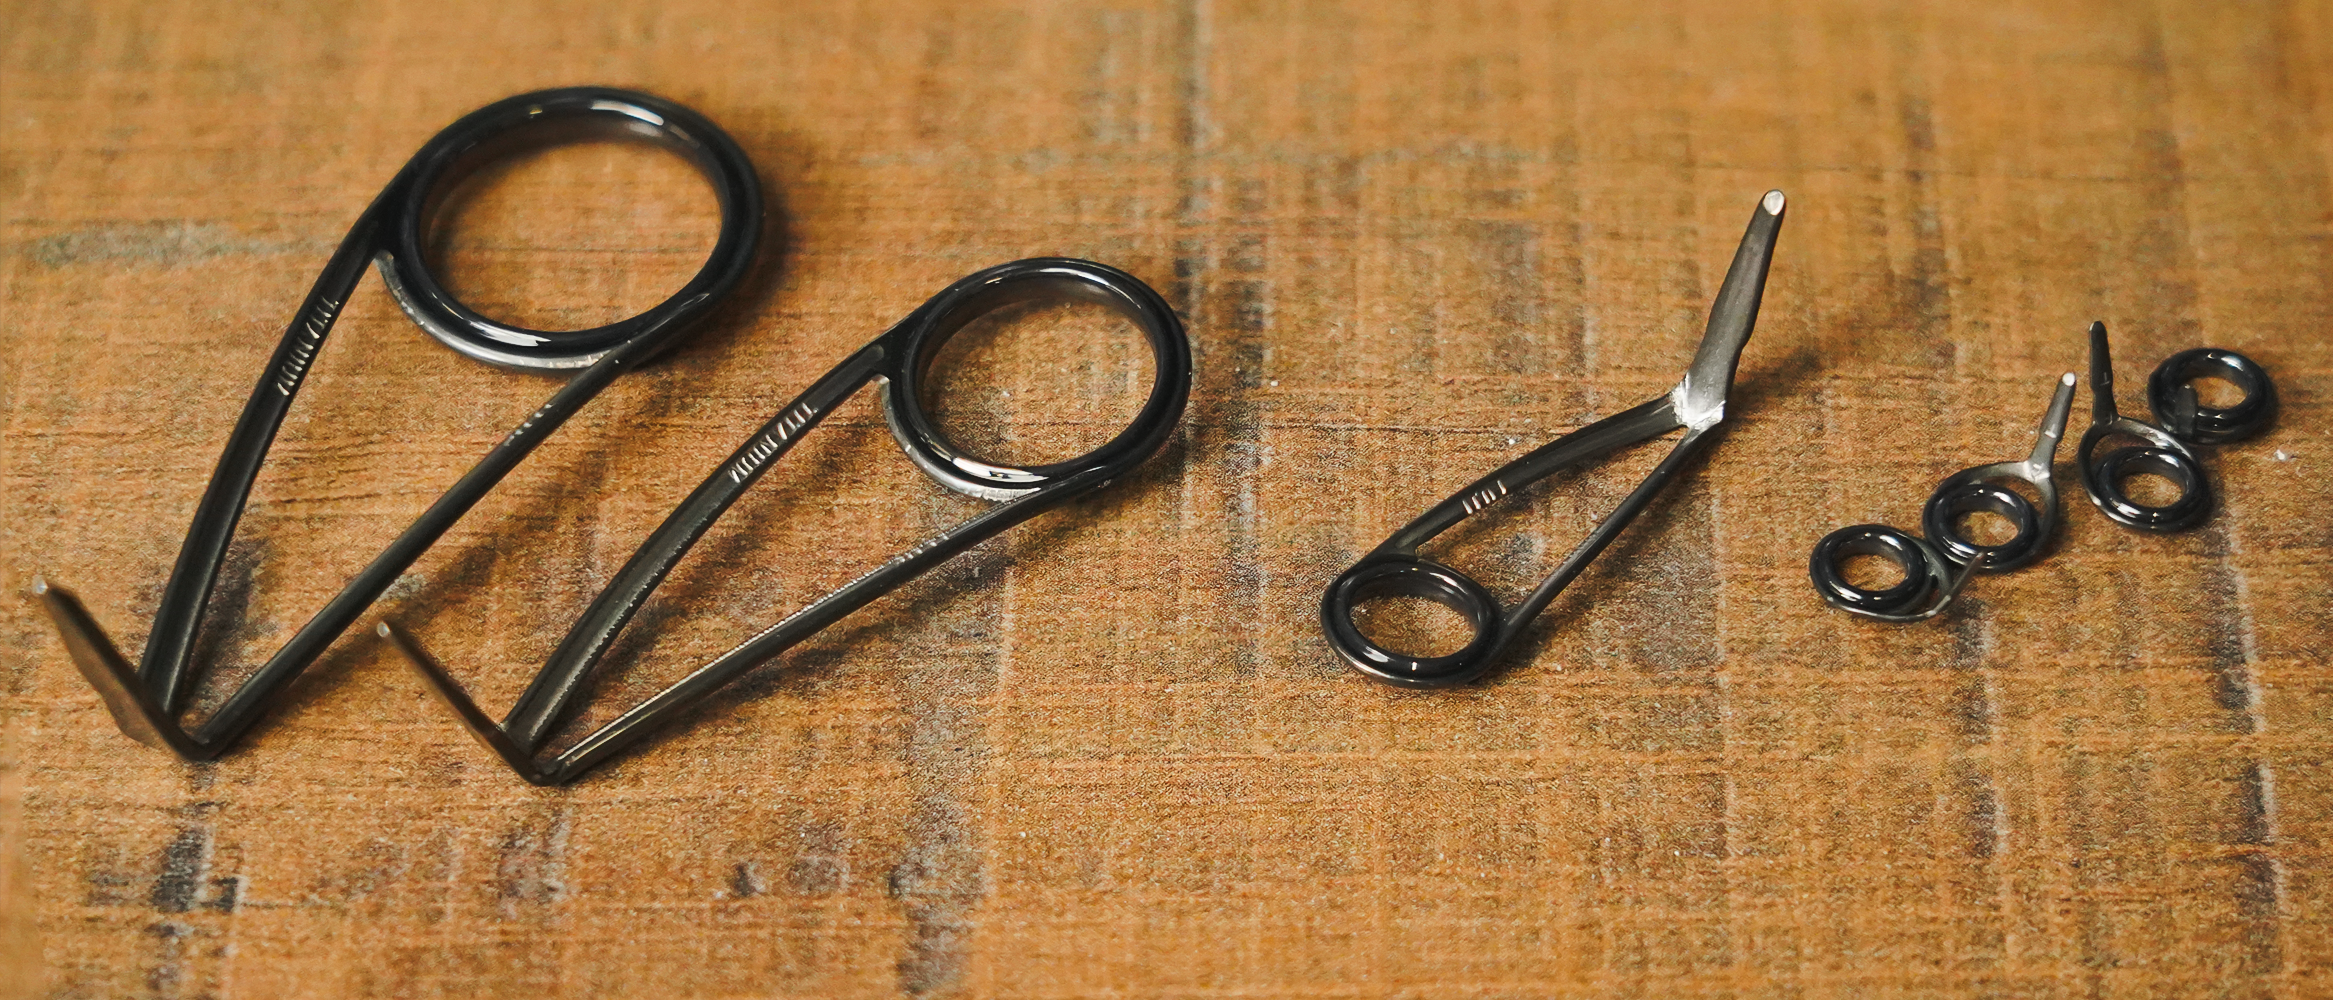
Ring selection
I now practically only mount my rods with Fuji KL, KB and KT Alconite, which are more than sufficient: they're light enough, they benefit from excellent rigidity thanks to the shape of their Inox frame, are perfectly finished and super strong. And, yes, you read that right, I use almost exclusively single-legged models! Fuji quality makes this possible and, to top it all off, the Alconites are more than affordable. These are the rings fitted to the Guru Aventus and Daiwa Tournament SLR, to name but a few. From bottom to top, here are my choices for dressing the rod:- In Fuji KL, which are the big starting rings that form the taper with the reel, I use at most 20, 25 or 30mm depending on the rod and reel. Come on, I confess, I do sometimes use two-legged KWs, but that's very rare and only on rods with a very hard, very stiff butt. For the thinner rods, my choice is the KL-H , M and L, higher for a smaller diameter .
- I continue the rod with KL and KB generally in 8, 7 or 6mm and don't put KT on the blank, since these have much smaller feet. I prefer KBs, designed to better resist pressure with their enlarged foot! Yes, I'm very careful, as KTs are usually quite stable .
- As for the scions, they're lined with KT in 5, 5.5 and 6mm (even 7mm, but that's rare), never less to facilitate the passage of the snatch knot.
Conclusion 1 and the sequel
I've advanced my theory and my pawns in this first article. With a few exceptions, rods are assembled to suit everything, without ever excelling in any one area. It's a shame, because many blanks are under-utilized due to a very average assembly. For me, the 3 fundamental points to improve are the choice of rings, to limit friction and twisting, the number and layout of rings, to better distribute energy and avoid its loss, and, finally, the weight of the equipment mounted in particular on the softest part of the rod, all without robbing the bank. Clearly, these subtle changes are aimed primarily at enthusiasts, specialists and competitors looking for truly high-performance equipment. The beginner or the average angler will not appreciate all the aspects of a rod modified in this way. Similarly, in very common conditions, such as short-distance fishing or carp fishing in ponds, which do not require any particular effort, a commercial rod costing €65-70 will do the job perfectly. That's the beauty of feeder fishing: the Pleasure you can have without breaking the bank. What's next? You'll just have to be patient. The next article on Assembly and the case study will be coming soon. This triptych will conclude with the 2 rod test and the final conclusions! One article a year, like the Lord of the Rings films... just kidding, you'll have read it all before the festive season! "We're now at the stage of assembling the ""test"" rod. I'll explain everything in detail and move from theory to practice. The rods for this project are the excellent Balzer Zammataro Masterpiece Nano 3.85m 80gr (light-medium). These are fast-action but gentle bream rods with great casting ability. As I have 2 of them and they are brand new, they are the ideal platform for this article. I use them with MS Range Prime 4500 NG mini big pits reels, the same size as Daiwa Castizm or Shimano Ultegra 5500.
.Where do we start from?
The original rod features 6 rings on 65 cm tips. The other 8 rings are bipatterned and spread over the 2 sections in between. Their diameter varies from 25 to 6mm and their profile is relatively low. Their selection and layout are conventional but effective against the competition. It's worth mentioning that the rings are tangle-proof and their Wrapping is neat and well-executed.
.Despite this, the usual flaws are still present, with a cone that's not respected, relatively large and heavy rings on the spinner holder, as well as a first ring close to the reel. The rings are supposed to be titanium, but their weight (and the price of the rod) indicates that the frame is stainless steel.
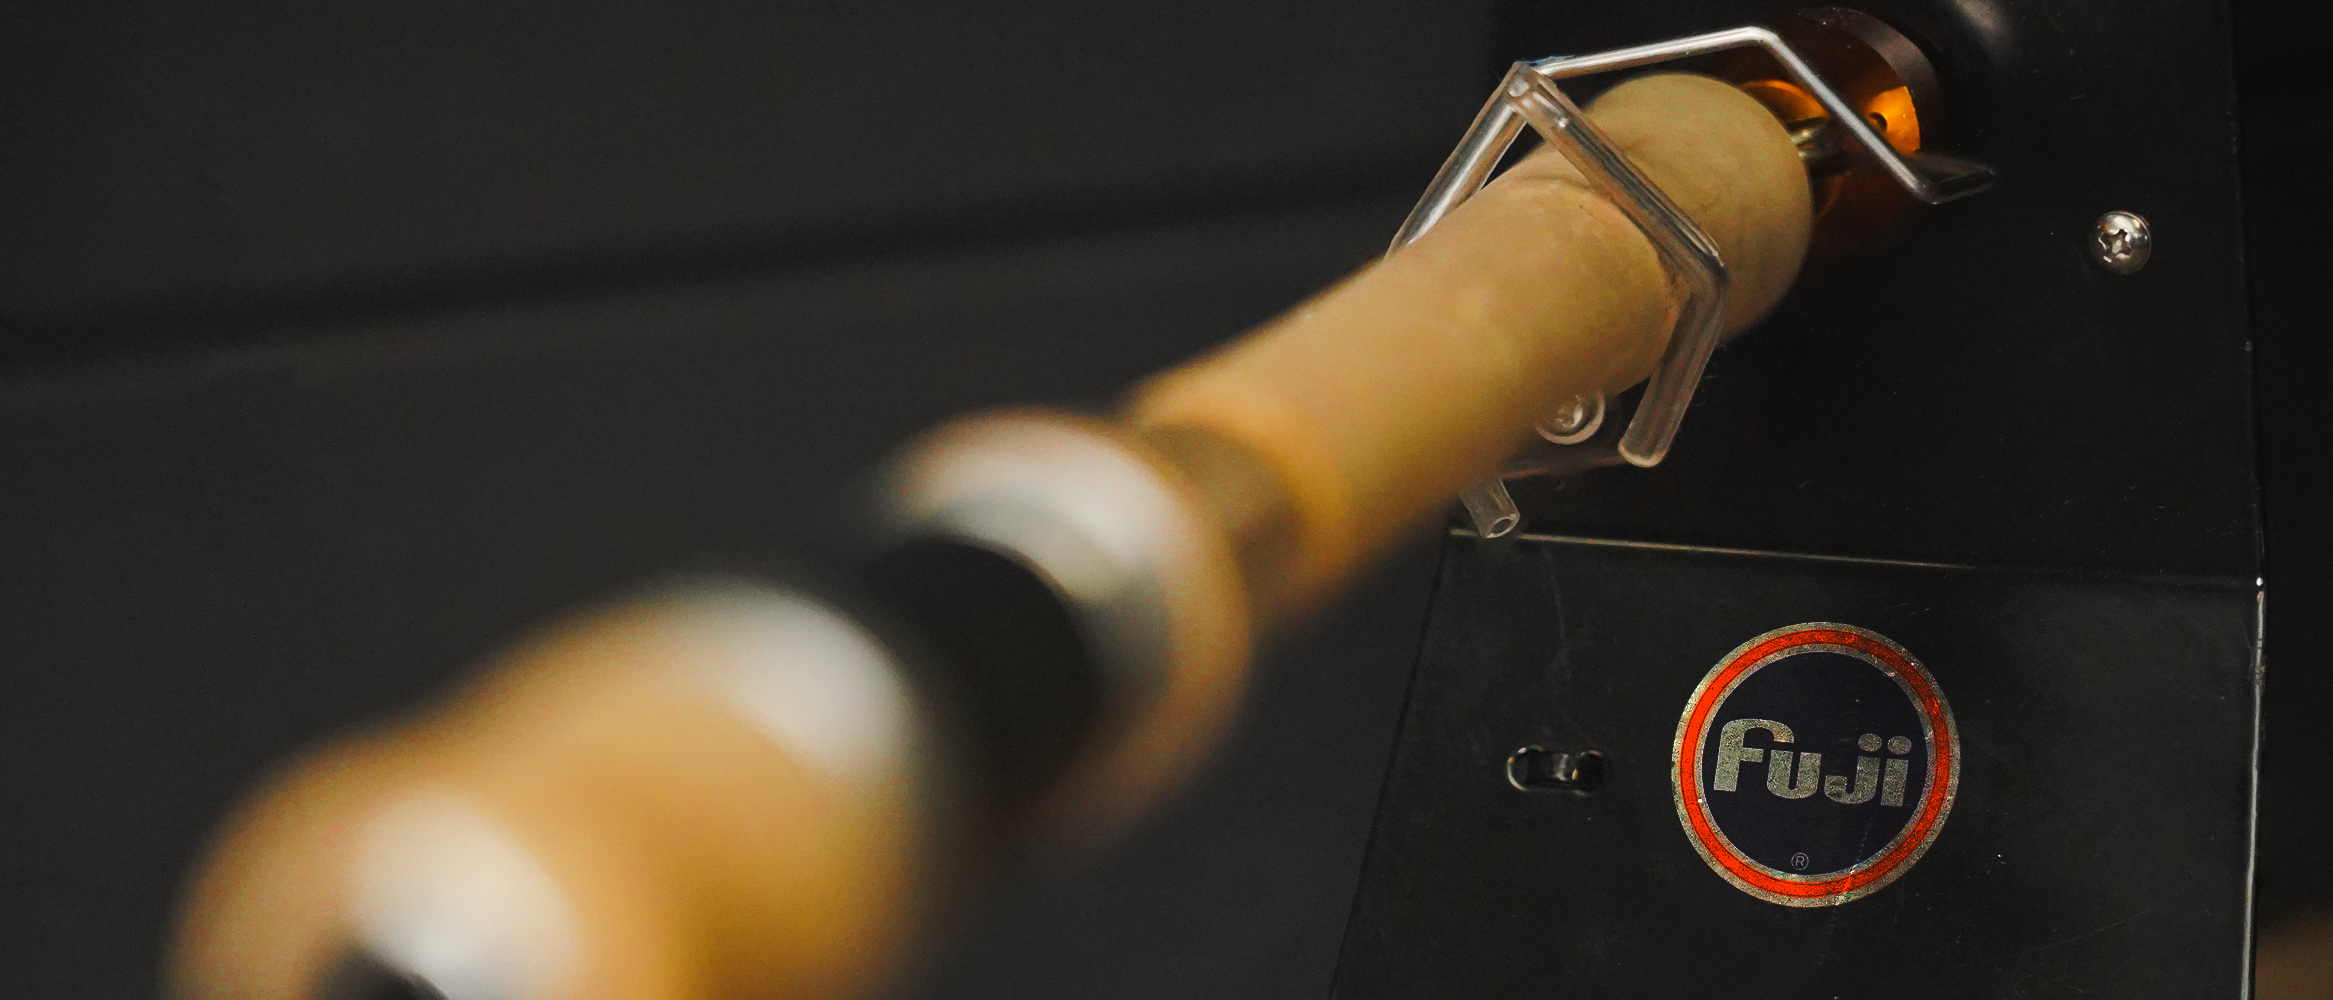
The position of the reel seat is not too high (reel foot at 51.5cm), which is an excellent point (not least for me, who's not a giant), and it comes from the Fuji range, a guarantee of quality and reliability. The handles are made of high-quality EVA. So nothing will change on this side!
Where are we headed?
The changes are significant:
- Checking and possible correction of a lack of blank alignment: a decision had been made when assembling the rod to run the blank axis in the opposite direction, with the softer direction pointing backwards (casting) and not forwards (working the fish). The inversion was perfect and also allowed the rod to be a little straighter, but I chose to put it back in the usual direction. So you could say it was a choice and not a fault. That's a good point for Balzer.
- Trace of the cone and distribution of the first rings: this really helps to make faster and more effective decisions about the size and position of the first rings: in this case, KLAG 30, 16 and KTAG 8
- Rearrange the rings according to Fuji's KR Concept to maximize efficiency + Check the quality of the reconfiguration by performing a pressure test: 3 6mm KBAG rings followed by 3 6mm KTAG rings towards the tip.
- Remount all.
Here are 2 comparison photos between the original assembly (top) and the new assembly (bottom):
The original rings have a weight of 17.40 grams, while the new FUJI K rings weigh 10.85 grams.
The weight of the ends can be used to estimate the weight of the Wrappings and the extra gain achieved with Single-legged rings. The original mounted ends weigh 91.10 grams, the bare ends 69.45 grams and the ends remounted with FUJI rings 82.80 grams. We can conclude that the Wrapping and epoxy of the original Assembly weighed 4.25 grams and that the use of Single-legged rings has saved a further 1.75 grams. The total gain is therefore 8.30 grams spread over both ends.
The operation has improved the balance point of the rod, which is now 57cm from the butt of the rod, compared with 59.5cm previously. With a reel weighing just over 520 grams and a butt located at 51.5cm, this difference is clearly felt, resulting in increased comfort.
The cost of the operation
This operation comes at a cost. FUJI rings are more expensive, but their high manufacturing quality and durability fully justify the price difference. The Rodhouse site is used as a reference.
This operation comes at a cost. FUJI rings are more expensive, but their high manufacturing quality and durability fully justify the price difference. The Rodhouse site is used as a reference.
The cost of the operation does not include the binding, epoxy, materials needed for assembly or labor. However, it's a worthwhile investment. My choice of FUJI K Alconite rings is a wise one because they are:
- .
- As strong and durable as Fuji Sic rings (the real thing, not the knock-offs)
- Offering a larger internal ceramic diameter than Sic .
- Half the price of Sic rings
- With impeccable CC (silver) and BC (Gunsmoke) finishes and a perfectly finished stainless steel frame
As for the Torzite rings, this would be a simplistic choice as they are undoubtedly the best on the market, but it translates into a higher cost (for example, the price of the rings on the Rodhouse site would be 98.30€, shipping not included, for a weight gain of around 4.50g compared to the Alconite). Ultimately, for the feeder rod, which is a tool, it makes more sense to use Alconite (as on Guru Aventus, Daiwa Tournament SLR, etc.), due to its excellent value for money and remarkable functional gains.
.Material used
Fuji BCKLAG: 1x30mm and 1x16mm
Fuji BCKTAG: 1x8mm and 3x6mm
Fuji BCKBAG: 3x6mm
FUJI Wrappings Metallic Red and Silver in size D
Epoxy GEN4 Low Build
The lure hook is a small stainless steel ""Fly"" ring
Final results
Testing is underway
"
4 comments
BRIERE JEAN-MARC
je plussoie totalement à tout ceci, je suis en plein montage de deux cannes feeder venant de chez rodhouse, le point nodal est en effet super important c’est en fait le point crucial avec la position du porte moulinet, bon montage à tous, et vive le rod-building
ANTOINE LUC
Nom de dieu Jean-Noël…J’aurais dû prendre un Dafalgan avant de lire ton article 🙂
C’est hyper intéressant, très bien écrit pour pêcheur averti, j’avoue que j’ai parfois dû relire 2 fois pour comprendre et je suis persuadé que je ne suis pas le seul…
Mais comme tu le dit en fin d’article, sur courte distance comme l’Ourthe et Amblève, est-ce qu’une canne à 70/80 € n’est pas assez adaptée et ne m’offre pas les même sensations qu’une canne sur mesure ?
Moi j’aimerais bien posséder une canne unique et sur mesure pour ce que je pêche, mais j’ai peur d’être déçu..
PS :.J’ai toujours les MS Range 4000 que tu m’avais conseillé et je les préfères de loin aux shimano 6000…
Merci pour tes articles et à bientôt j’espère !
BRIERE JEAN-MARC
je plussoie totalement à tout ceci, je suis en plein montage de deux cannes feeder venant de chez rodhouse, le point nodal est en effet super important c’est en fait le point crucial avec la position du porte moulinet, bon montage à tous, et vive le rod-building
Leave a comment
All comments are moderated before being published.
This site is protected by reCAPTCHA and the Google Privacy Policy and Terms of Service apply.